While mainly being a source of meat, wool, and horns, Beefalo is also useful for its tameable trait, providing a new way to travel and combat in Don’t Starve Together.
With so many updates over the years, the taming process might be complicated for newcomers. So in this article, we’ll show you how to tame a Beefalo in Don’t Starve Together.
Recommended Read: What to Do in the Spring in Don’t Starve Together
To tame a Beefalo in Don’t Starve Together, you must first feed it to start the taming process and then constantly interact with the Beefalo by riding, fighting, feeding, and brushing it to increase the taming attribute. After roughly 15-20 days, when the taming attribute reaches 100%, feeding it one more time will transform it into a tamed Beefalo.
Table of Contents
How to Tame Beefalo in Don’t Starve Together
Before we go, remember that taming a Beefalo in Don’t Starve Together is a long process and requires a lot of materials and patience. So if you can handle the stress from multi-tasking and have plenty of resources, read on!
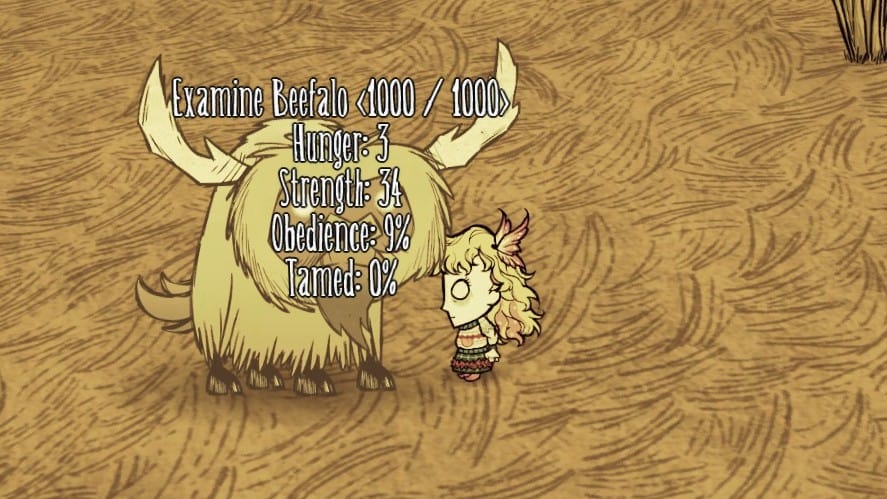
Besides health points and damage, Beefalo has 4 main attributes to talk about when domestication:
- Taming (960 max): When this attribute reaches 100%, you successfully tame a Beefalo.
- Obedience (100 max): Affects riding ability, riding time, and saddling.
- Hunger (350 max): Directly affects the taming and tendency attribute.
- Tendency: Depending on how you treat your Beefalo, it will transform into Default, Rider, Ornery, or Pudgy.
Now, let’s learn the taming mechanic!
The Taming Mechanic
To fully tame a Beefalo, you have to raise the taming attribute to 100%. Taming increases by 1 every 10 seconds when you ride the Beefalo or its hunger is below zero.
Since a day in Don’t Starve Together is equal to 8 minutes (480 seconds) in real life, you can get up to 48 Taming points (or 5%) per in-game day.
In addition, using the Brush on the Beefalo can speed up the taming process by another 16 points (1.67%). However, you can only use it once per day.
By a simple calculation, it’ll take around 15-20 days to fully tame a Beefalo, assuming you ride or feed it daily.
- If you don’t have the Brush: 960/48 = 20 days
- If you have the Brush: 960/(48 + 16) = 15 days
However, taming a Beefalo may take longer than expected because so many events frequently occur in the game, directly affecting your daily activity. For example, the hound wave forces you to temporarily abandon everything to kill all the hounds.
Besides, the taming attribute can also decrease every 10 seconds if you’re not riding, feeding, or brushing the Beefalo. Moreover, the longer you abandon the Beefalo, the faster the taming attribute decrease.
If you need to go away for a few days, building a Salt Lick at home will prevent the taming attribute from decreasing, even though you’re not riding or feeding it.
To park your Beefalo at the Salt Lick’s location, simply tag it with a Beefalo Bell. Then leave the bell on the ground near the Salt Lick.
When the taming attribute reaches 100, feeding the Beefalo one more time will transform it into one of the four tendencies above.
Start the Taming Process & Obedience
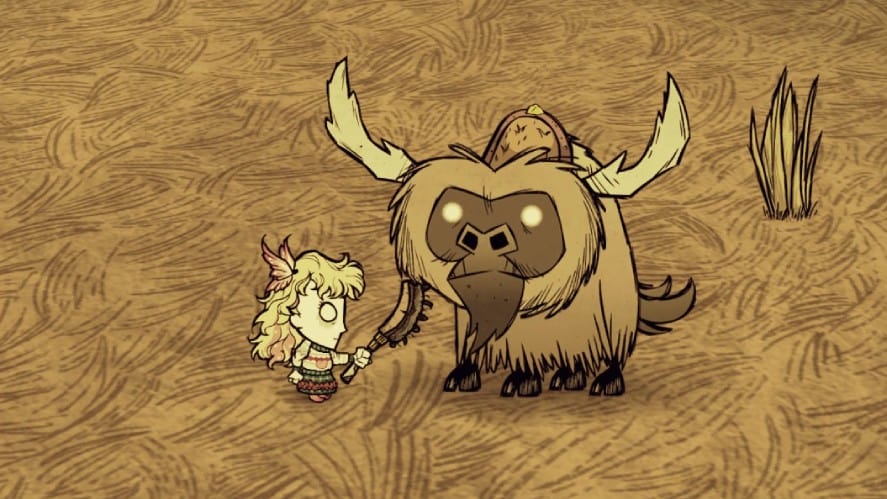
To start the taming process, just feed the Beefalo with any of the vegetables or fruits you can find. Besides, cut grass and twigs are the most common materials for Beefalo taming.
Feeding Beefalo increases its hunger, health, and obedience attributes. Each food increases a different amount of health and hunger while always increasing obedience by 10%.
The obedience attribute is essential since it affects specific actions you can do to a Beefalo, as below:
- Below 10% obedience: become hostile and attack you if you’re trying to put a saddle on it.
- Below 40% obedience: shake off the saddle.
- At 50% obedience and above: threshold for riding.
That said, you’ll need several cut grass or twigs in the first feeding time to successfully put a saddle on the Beefalo. Remember that each time the saddle is shaken down, its usage is reduced by 1.
Every day, Beefalo loses 300 hunger points and 50% of obedience. Even though it cannot starve to death like the players, feeding the Beefalo is crucial for increasing the taming attribute and changing its tendency.
So, if you can’t keep feeding the Beefalo, it’s advisable to use the Saddlehorn to temporarily remove the saddle and only put it on when you need to ride the Beefalo.
However, don’t overfeed, shave, or attack your Beefalo because each action has its consequence. To effectively tame your Beefalo, check the table below!
| Action | Obedience Change | Taming Change |
|---|---|---|
| Overfeed | -30% | -1% |
| Brush | +40% | +1.67% |
| Shave | -100% | – |
| Attacked by Monster | -1% | – |
| Attacked by Owner | -100% | -30% |
According to the table, attacking your own Beefalo isn’t a wise choice since you’ll lose a lot of progress just with a single hit. However, actions that negatively impact the taming attribute (overfeeding and being attacked by the owner) can be helpful if you want to change the Beefalo’s tendency.
But what’s a tendency? Read on!
Finish Off The Taming Process & Tendency Points
Once the taming attribute reaches 100%, the final feeding will transform your Beefalo into one of the following tendencies:
- Default: mix of Rider and Ornery. It has the same stats as normal Beefalo.
- Rider: fastest and mainly used for travel.
- Ornery: strongest but has lowest base obedience. Used to fight monsters.
- Pudgy: Slowest but has a sanity aura (+6.25 per minute), suitable for traveling under caves.
Depending on how you treat the Beefalo, when the transformation happens, the dominant tendency (the tendency with the most point) will determine which tendency your Beefalo receive.
- Rider tendency: increases by 0.000416 per second while being ridden.
- Ornery tendency: increases by 0.004 each time the Beefalo attack or are attacked.
- Pudgy tendency: increases by 0.000416 per second if hunger exceeds 50%. Overfeeding increases this point by another 0.02.
As you can see, the Ornery tendency increases 10x times quicker than the other two. So, if you want to get the Rider or Pudgy Beefalo, consider leaving the Beefalo home and only feed and ride it around.

If the dominant tendency is less than the sum of the other two tendencies, you’ll get a Default Beefalo instead.
For example: Before the final feeding, if your Beefalo has 1.2 Rider tendency points, 0.4 Ornery tendency points, and 0.9 Pudgy tendency points, it won’t transform into a Rider Beefalo. Instead, it will be the Default one, as 1.2 < 1.3 (0.4 + 0.9).
Beefalo Tendencies
Each tendency gives your Beefalo a unique appearance and stats, including speed, damage, and base obedience. Check the table below to find your favorite tendency.
| Tendency | Base Obedience | Base Speed | Speed with Saddle | Base Damage | Effect |
|---|---|---|---|---|---|
| Default | 80% | 7 | 9.8 | 34 | – |
| Rider | 95% | 8 | 11.2 | 25 | – |
| Ornery | 45% | 7 | 9.8 | 50 | – |
| Pudgy | 60% | 6.5 | 9.1 | 20 | +6.25 sanity per minute |
As you can see, the Rider tendency outperforms the other with its Base Obedience and Speed. While the Ornery tendency is good at fighting, and the Pudgy is good for increasing sanity.
Once you’ve fully tamed the Beefalo into one of the tendencies, the riding time is massively increased to roughly 13 minutes. This makes Beefalo extremely useful since you can travel faster without any speed penalties from all sources (Piggyback or Marble Suit, for example).
Besides, you don’t need to feed the tamed Beefalo, as it already has a significant amount of obedience, except for the Ornery tendency, which only has a minimum of 45% obedience. This makes you feed it at least once in order to ride it.
Because of the Base Obedience, the tamed Beefalo will never shake the Saddle off, allowing you to use higher-tier saddles for more benefits without worrying about breaking them.
Here are all the available saddles in Don’t Starve Together and their effect.
| Name | Effect | Uses | Materials |
|---|---|---|---|
| Saddle | +40% movement speed | 5 | 4 Beefalo Wools 4 Pig Skins 4 Gold Nuggets |
| Glossamer Saddle | +55% movement speed | 8 | 2 Living Logs 4 Silks 68 Butterfly Wings |
| War Saddle | +25% movement speed +16 damage | 8 | 4 Rabbits 4 Steel Wools 10 Logs |
There is no requirement for which saddle must be put in which Beefalo tendency. So feel free to experience things and pick what you like best.
For example, you can use the Rider Beefalo with the Glossamer Saddle for maximum speed. Or, you can use the War Saddle instead to balance the damage and speed.
Using the Construction Amulet to craft the high-tier saddles is advisable, as they cost a lot of rare materials, and you only need to craft it once.
Tips For Taming Beefalo in Don’t Starve Together
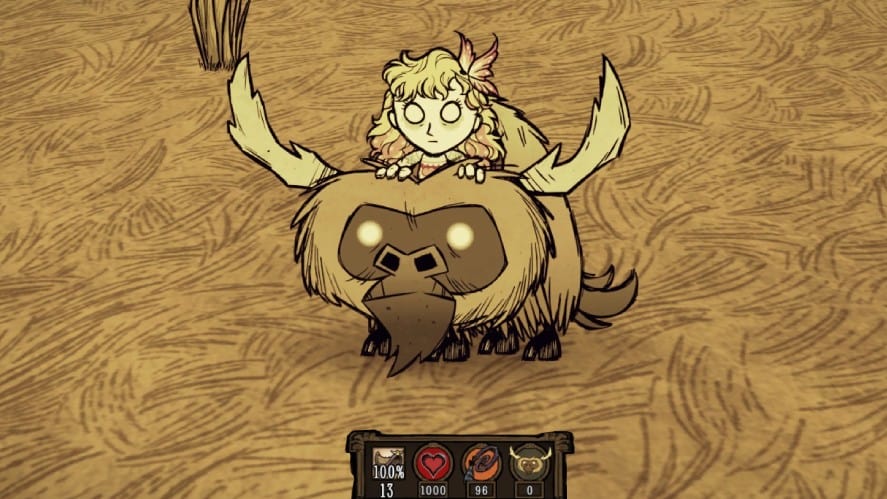
To make the taming process easier, consider installing the Beefalo Widget mod to see all the Beefalo’s stats, including:
- Riding time
- Health
- Obedience
- Taming
Moreover, consider making a Beefalo Bell and tagging your Beefalo. This action causes the Beefalo to follow you anywhere (even under caves or wormholes) as long as you have the bell in the inventory.
If you want to travel far away or into dangerous places, you can leave the bell on the ground somewhere safe to keep the Beefalo there, as the Beefalo follow the bell, not you.
Besides the massive increase in movement speed and damage, Beefalo can also be a great shield. Specifically, tamed Beefalo receives all the melee damage for you when ridden. You have to take care of ranged damage, however.
That’s how to tame beefalo in Don’t Starve Together!
Have any suggestions for this guide? Let us know in the comments section below.