In Hearts of Iron 4, your main goal will be to win the Second World War. Unfortunately, it is quite hard to do this without doing some research beforehand, as the gameplay mechanics are very complicated for newcomers.
There are many moving parts when it comes to warfare in Hearts of Iron 4. You will need to know what most of the stats mean, how to design your divisions properly, and how to keep everyone supplied throughout the battles.
Recommended Read: How to Use Floating Harbor in HOI4
To properly win all your wars, you will need to master some of the tedious parts of micromanaging your troops, which are usually worth the effort.
In this guide we will show you everything you need to know about warfare in Hearts of Iron 4, ranging from how divisions work, to how to win every war you participate in.
Table of Contents
How Divisions Work
Divisions are the bread and butter of war. They are your troops which you guide on the battlefield to win wars.
These divisions have two main stats that will decide their ability to fight properly and win:
- Strength (orange bar)
- Organization (green bar)
Strength is the closest thing to HP your divisions have. If a unit completely loses its Strength it will be destroyed, and you will lose whatever was left of it forever. The Strength is a combination between equipment and Manpower.
Organization is the morale of your division. If they lose all Organization when attacking, they will immediately stop their offensive.
If they lose all Organization when defending, the division will start retreating to a different province, in order to recover their Org.
Divisions with lower than maximum Strength or Organization are much easier to defeat and are usually your first sign either you or your enemy are starting to lose the war.
There’s no way to make sure your Strength is larger and all you can do to keep this stat high is to make sure you always have surplus equipment and Manpower to supply back to your divisions after battles.
For Organization, on the other hand, you personally decide how much max Organization you can have in the division designer
Division Designer
The division template designer is a huge part of the game. In the Recruit & Deploy menu players can edit their divisions, choosing exactly what battalions are part of it and what stats they actually have.
What All Division Stats Mean
In the division template designer, players will see three columns: Base Stats, Combat Stats, and Equipment Costs.
Under these columns, they can see the division composition, which will help figure out what bonuses the division will get from advisors and doctrines, and the Hardness percentage.
Base Stats
- Max Speed – the speed that the division will have. The minimum is 4 km/h, with everything above 10 being really fast.
- HP – number that represents how easy it is to destroy the division. The higher the number, the longer the division will last in a situation where it will likely disappear forever.
- Organization – the real health of a division. In battles, divisions lose if they lose all of their Organization. Once they retreat, they have to wait to recover before being at full strength.
- Recovery Rate – the speed at which Organization recovers out of combat.
- Reconnaissance – stat that decides if the general of the army will counter the tactic of the enemy. The total is a combination between the division’s stat and the one of the general.
- Suppression – efficiency when it comes to suppressing occupied territory. Stat only relevant for Garrisons.
- Weight – determines how many Convoys are needed for transport across water.
- Supply use – determines how much Supply the division needs in the province they are stationed.
- Reliability – how likely it is that equipment will break down due to attrition. A low Reliability will result in a lot of meaningless losses of equipment.
- Reliability Bonus – extra Reliability gained from Support Companies.
- Trickleback – returns a percentage of lost Manpower in battles to the country’s Manpower pool.
- Exp. Loss – determines the amount of division experience lost per Manpower lost.
Combat Stats
- Soft Attack – the main Attack stat. All units that have low Hardness (no tanks or armored divisions) take mainly Soft Attack damage.
- Hard Attack – the Attack stat for armored divisions. Units with higher Hardness take more Hard Attack damage.
- Air Attack – lowers damage taken from CAS by up to 75% and attacks planes above them.
- Defense – reduces damage that enemies deal to the division when defending.
- Breakthrough – reduces damage that enemies deal to the division when attacking.
- Armor – if Armor is higher than the attacking division’s Piercing, the defending division loses -50% less Organization and the attacking division loses +50% more Organization.
- Piercing – if Piercing is higher than the defending division’s Armor, the defending division loses +50% more Organization and the attacking division loses -50% less Organization.
- Initiative – increases reinforcement rate and Coordination. Relatively useless stat.
- Entrenchment – increases Max Entrenchment. Every point of Entrenchment gives a division +2% Defense and Soft Attack. Lose the bonus when moving.
- Eq. Capture Ratio – the amount of equipment the division captures during battles.
- Combat width – how much space the division takes on the battlefield. Check out our guide on Combat Width for more info.
How to Make Defensive and Attacking Divisions
When designing your divisions, there will only be a few stats that you should care about, depending on what you want to do with those divisions.
If you want to make defensive divisions that only need to hold back your enemies, then concentrate on Defense, Armor, and Entrenchment.
If you want to make attacking divisions, concentrate on Soft Attack, Hard Attack (if you’re fighting tanks), Breakthrough, and Piercing.
Hardness
There are two types of Attack in HOI4: Soft and Hard.
Soft Attack mainly targets divisions with low Hardness and Hard Attack hits divisions with high Hardness. Here is the exact formula that decides how a division is damaged in HOI4:
Attack = (1 – Hardness) * Soft Attack + Hardness * Hard Attack
Hardness is a stat that represents the number of armored battalions that are part of the division. Infantry has 0% Hardness, while Tanks have 100%.
A normal Infantry division will have less than 10% Hardness, while normal Armored divisions will have around 50% to 70%.
This means that an Infantry division with 0% Hardness won’t receive any of the Hard Attack damage, but 100% of the Soft Attack. A division with around 50% Hardness will receive half of both.
In singleplayer the AI generally uses only divisions with close to 0% Hardness, which means that Soft Attack is king. Generally aim to build divisions with really high Soft Attack to win most fights.
In multiplayer, most will focus on getting some Hardness on all divisions, with a lot of elite Tank divisions to push the lines while micromanaging.
To combat these, you will need a few Tank Destroyers to combat them with Hard Attack.
A single Tank Destroyer in most defensive divisions will usually be enough to also deal damage to the powerful Tank divisions that players use in multiplayer.
Combat Width
Combat Width in HOI4 is the amount of space that divisions can take up in a province battle.
Each province will have a set maximum Combat Width based on the terrain type (Plains, Urban, etc.), and each division will have its own Combat Width stat, which will decide how they fit in the battle.
When you create a division using the division designer, you will notice that most line battalions will add either 1, 2, or 3 Combat Width to your division, with most of them using 2 (Support Companies don’t add any Combat Width).
You can also check the Combat Width of a province before attacking by clicking on the tile and hovering over the image of the Province in the bottom left corner of the screen, which will tell you the terrain type and Combat Width.
When you start a battle, you can see if you open the fight menu (press the bubble with numbers in it) a number in the center that represents the Combat Width.
This can also change based on how many directions the province is attacked from (+half of the normal Combat Width per attack direction).
What Is the Best Combat Width?
When optimizing and designing your divisions in HOI4, you need to make sure that you choose the best Combat Width that will get the least amount of negative modifiers in most terrain types.
One problem that you can often bump into is making your divisions too small (less than 12 Combat Width) or too large (bigger than 40 Width), which will often either give you horrible Combat Width debuffs or just bad stats in the battle.
Taking this into consideration, the best Combat Width stats that you can use for your divisions in HOI4 are these:
- 14/15
- 18
- 24/25
- 35/36
Supply
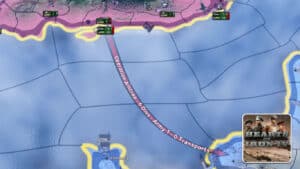
Another thing that will decide if you can win battles or not is Supply. Supplies aren’t actually an item or equipment you can produce in the game.
Supplies are a resource that appears in your states based on various factors, such as state population, Infrastructure, Victory Points, and connection through Hubs.
All divisions in the game have a Supply consumption stat that decides how much Supply they need, which you should provide, otherwise their Organization will lower, making them easy to destroy.
There are two main sources of Supply in all provinces: State and Hubs.
The State Supply is the amount of Supply a province will get based on population, Infrastructure, and Victory Points. Supply from Hubs is the amount of Supply a province will get based on its connection to the capital.
The capital of your country has a main Supply Hub, the Capital Hub, that sends Supply to all the Hubs in the country through Railways.
The maximum amount of Capital Hub Supply (the Supply Cap) is based on the number of factories in the country.
This does not mean that the Supply Cap in your capital is how much supply you can send to all the Hubs. It is just a number that represents the maximum Supply you can have in all your Hubs.
Based on the Railway level, the other Supply Hubs have a maximum level of Supply they can provide as well.
How to Win Wars in HOI4
To actually win wars, you just need to plan everything better than your enemy.
If your divisions have good designs, they have Supply, and there are no huge debuffs against them, you shouldn’t have a lot of problems pushing through.
HOI4 is a numbers game, and having the bigger numbers will always allow you to win. Having huge Soft Attack, for example, is all you need to win in single player.
Putting a lot of Artillery in all of your divisions, even if they are Infantry divisions, is more than enough to win almost every fight.
A decent strategy is usually to allow the enemy to lose Manpower and equipment before pushing through. Trick your enemy into attacking and defend, losing almost nothing while they lose everything.
This strategy is usually the best way to win absolutely every war in the game, as the AI will usually throw troops at you until their Strength begins to waver. Once you notice that their Strength is below 70%, you should usually start pushing.
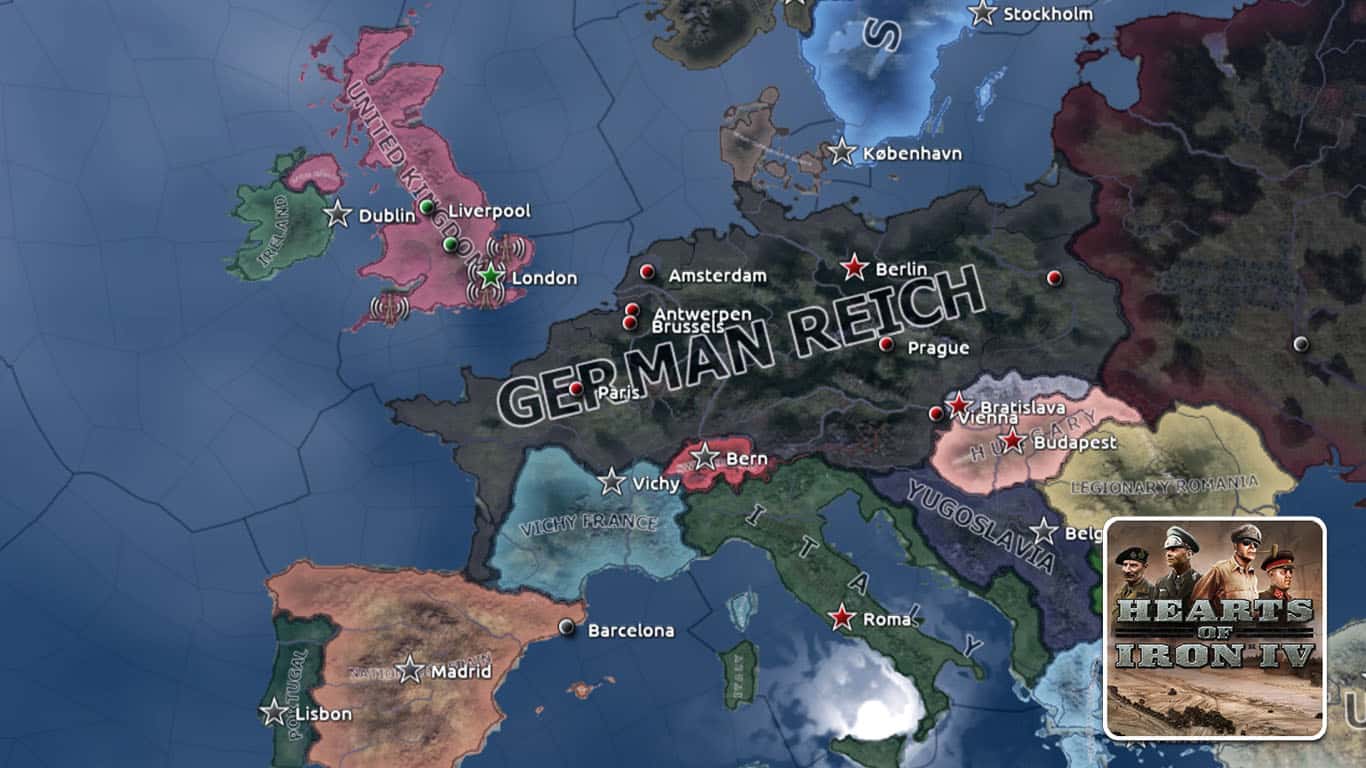
If you are playing as an offensive country, like Japan or Germany, then your main goal is capturing important cities. Build around speed and just push hard to get around the enemy line and get Victory Points.
Also, always look for encirclements. Even if you aren’t micromanaging and like just staring at your army as they push, help by creating encirclements.
Completely destroying enemy divisions is the way to win wars. This significantly lowers their Manpower and equipment, speeding up their capitulation.
That’s everything you need to know about how to win wars in Hearts of Iron 4!
Have any input or suggestions for this guide? Let us know in the comment section below.