In Project Zomboid, attaching a trailer to a vehicle can be a vital survival strategy, especially when transporting supplies or looting items through your journey.
However, figuring out how to attach a trailer may be challenging, as it consumes time and decreases enthusiasm.
In this article, we’ll show you how to attach a trailer in Project Zomboid so that you can easily haul your supplies and gear.
Recommended Read: How to Board Up and Barricade Windows in Project Zomboid
In Project Zomboid, you can attach a trailer by driving a vehicle close enough to it, then leaving the vehicle and holding the “V” button, and selecting the “Attach” option or the “Plus” symbol to attach it to your vehicle.
Table of Contents
How to Attach Trailer in Project Zomboid
First, let’s find yourself a vehicle to attach a trailer to.
1. Find a Vehicle
There are many available vehicles in Project Zomboid, each with different weights, power engines, seats, doors, and total storage.
Vehicles are divided into three types: Standard, Heavy-duty, and Sports.
Each can be repaired, added, or removed if only you read the “Laines Auto Manual” book.
You can get vehicles in various places: parking spaces, driveways, highways, or roads. Ensure you check the vehicle’s condition properly before driving, as it may appear damaged or lack fuel.
Press “E” when you stand in front of the vehicle to check its condition. If any stats are displayed in red, you should find materials and repair them.
2. Find a Trailer
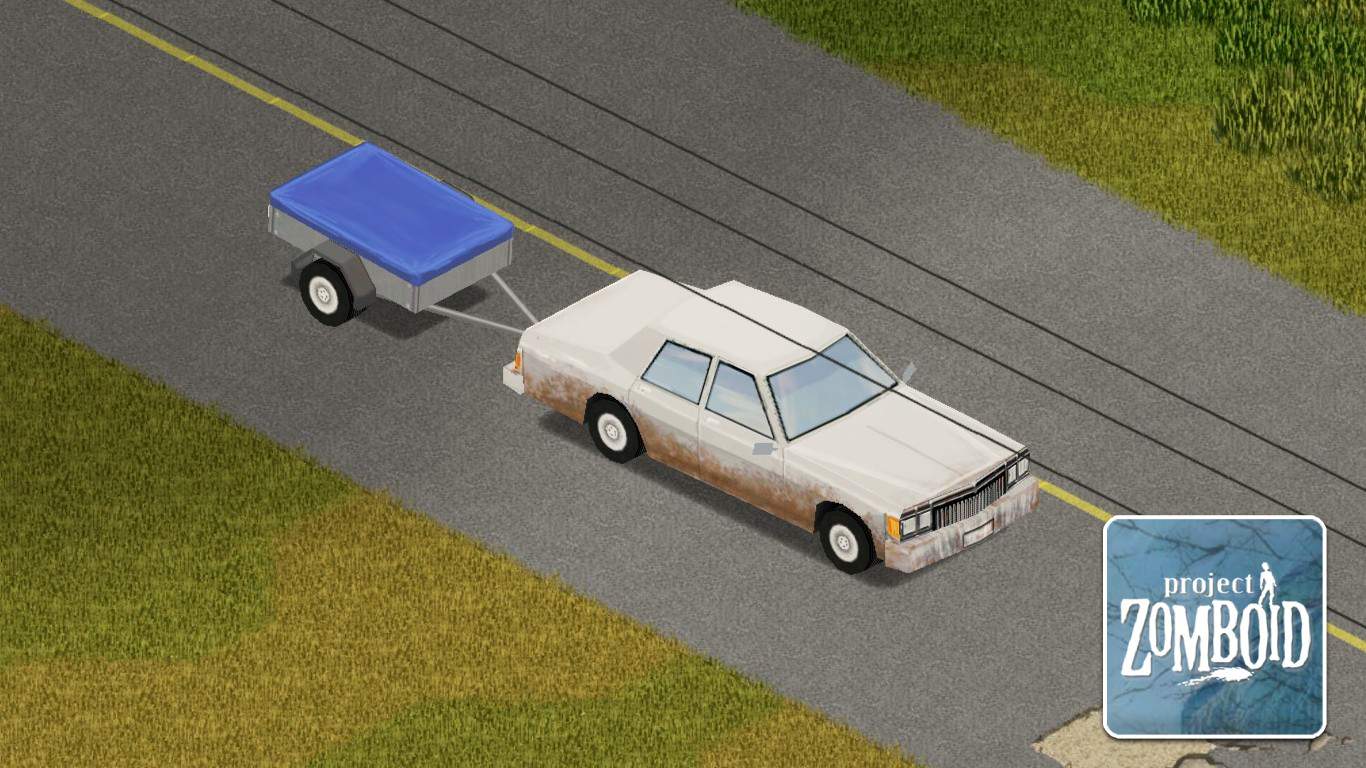
A trailer is extremely useful if you want to loot more items and bring them back to your home.
Each trailer has 100 additional storage units, which adds significant storage to the vehicle.
In addition, Advert Trailer also exists in Project Zomboid. But it’s used for commercial purposes instead of storage.
Note that the trailer has its own weight, which will slow down the vehicle’s speed when attached.
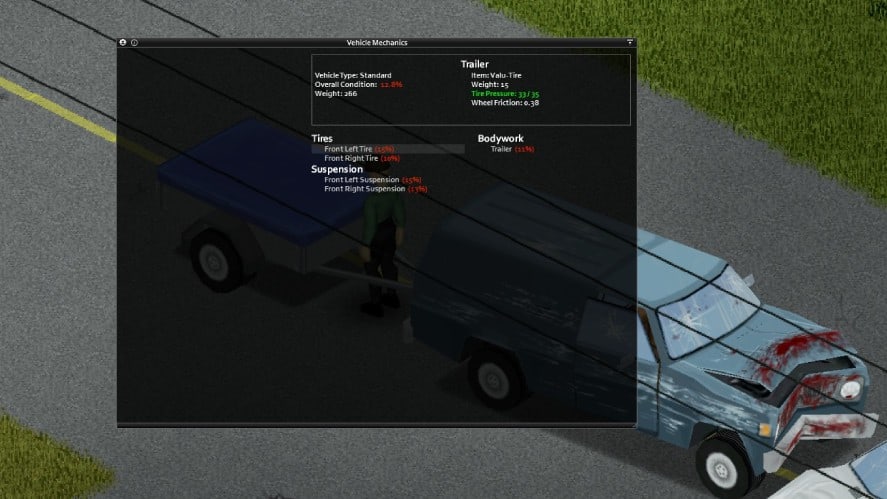
When the trailer is attached to the vehicle, you can check its condition by right-clicking on it and selecting “Vehicle Mechanics” to ensure it’s still good.
You can get a trailer everywhere in Knox County, from the highways, parking lots, or near crashed cars. You can also spawn one using the cheat menu.
3. Attach the Trailer
Once you’ve got a vehicle and a trailer, it’s time to combine them.
If the trailer is located in an area with many obstacles nearby, we’d recommend cleaning the obstacles out first to avoid accidental mishandling.
Next, drive the vehicle to have its back face to the trailer’s hook. Ensure the back of the vehicle is close to the trailer but not too close, as it can harm the vehicle.
Then, leave the vehicle and stay next to the trailer’s hook. Press “V” to open the menu and select “Attach“, which is displayed as a “+” symbol.
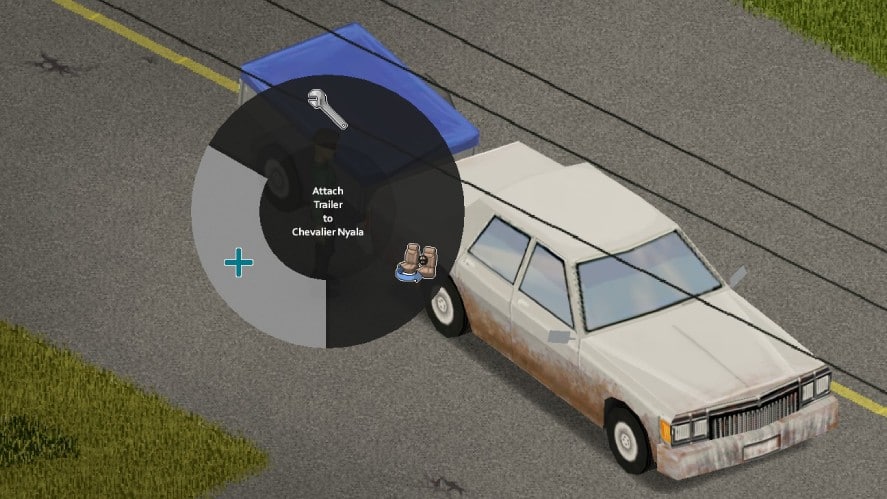
Wait for a while, and then enjoy your mobile storage!
You can take or swap items between your inventory and the trailer like other inventories in the game.
When the trailer is broken, or you don’t want it anymore, you can detach it by pressing “V” again and selecting the “Detach” option, which is displayed as a “–” button.
That’s how to attach a trailer in Project Zomboid.
Have any suggestions for this guide? Let us know in the comment section below.