In Project Zomboid, building walls is a critical element of defense strategy.
Building walls increases protection, allowing you to focus on other important survival projects in this post-apocalyptic world.
In this article, let us guide you on how to build walls in Project Zomboid.
Recommended Read: Can You Sleep in a Car in Project Zomboid?
To build walls in Project Zomboid, you must first build the Wooden or Metal Frame. Then, with the Hammer in your hand and other materials (Planks, Nails, Metal Bars, Metal Sheets, or Welding Rods), you can right-click on the frame to build a Wooden or Metal Wall. Besides the materials, you will need at least level 2 Carpentry or level 3 Metalworking.
Table of Contents
How To Build Walls in Project Zomboid
Having reliable walls will increase your chance of survival. So, it should be the first task on your survival to-do list.
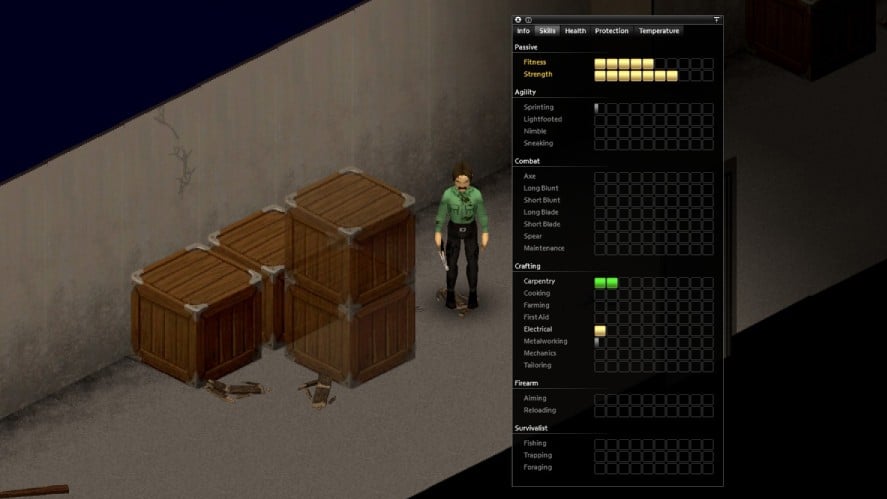
1. Obtain Level 2 Carpentry
Carpentry is the skill of making barricades, constructing furniture, or building a new house. Obtaining a high carpentry level will, therefore, make your life easier.
If you choose “Carpenter” as your occupation in your early game, which adds two starting points and offers +3 major carpentry skills, this is no longer a difficult task.
However, you can speed up the leveling process by reading carpentry skill books.
You only need to read Carpentry Vol. 1, which covers levels one and two of carpentry skills.
You can get this book by searching for it on bookshelves in houses or finding it in bookstores and post offices.
Remember that it will take roughly 18 minutes in real-time to read 220 pages of the Carpentry Vol. 1 book. So put yourself in a safe place to finish it.
If you don’t want to read, it’s okay.
You can do physical activities to level up Carpentry by building useless stuff, dismantling it, and then rebuilding.
You can also chop down some trees, then use the saw to cut the logs into boards to gain more exp.
2. Obtain Level 3 Metalworking
You can ignore leveling up this skill if you only want to build wooden walls.
Like Carpentry, you need to find and read Metalwork Vol. 1 and 2 to speed up the leveling process.
The magazine can be found in mailboxes, on bookshelves in houses, or in libraries.
Then, you can deconstruct many objects in the game to gain Metalworking experiences, such as dumpsters, fridges, lockers, and more.
It will take a while unless you choose Metalworker as your occupation.
3. Gather Tools and Materials
Here we cover both guides about building wooden and metal walls in Project Zomboid.
For Wooden Walls
You’ll need 2 Planks, 2 Nails, and level 2 Carpentry for the Wooden Frame.
Wooden Wall has three levels. Each level costs additional 2 Planks and 4 Nails to build. Besides the materials, you’ll need levels 2, 4, and 7 Carpentry, respectively, for each wall level.
If you have enough materials and 7 Carpentry levels, you can go straight for the Wooden Wall level 3.
Otherwise, you can always build lower levels first and upgrade the wall later.
The upgrade cost is actually cheaper.
You only need 1 Plank and 4 Nails to upgrade from level 1 to level 2, and level 2 to level 3.
To directly upgrade from level 1 to level 3, you need 2 Planks and 8 Nails.
Moreover, you need a Hammer. Search for it in tool stores, army bases, or metal shelves.
The Hammer is the most common carpentry tool, as it can be used to build frames, dismantle tiles, or board up and barricade windows.
You can get Nails in factories, hardware stores, tool sheds, garages, or by dismantling other wooden furniture.
For Planks, you can use the saw to cut logs into planks or find them in warehouses and storage buildings.
For Metal Walls
Besides a Hammer, a Propane Torch and a Welding Mask are all the needed tools to build metal walls.
You can build metal walls on both Wooden or Metal Frame.
Wooden Frame is cheaper but gives only 50 additional health points to the wall, compared to 120 from Metal Frame.
While the Metal Frame costs 3 Metal Bars, 4 Welding Rods, 8 Propane Fuel in Propane Torch, and level 3 Metalworking.
Metal Wall has two levels:
- Metal Wall level 1 requires 3 Metal Sheets, 10 Propane Fuel, and level 2 Metalworking
- Metal Wall level 2 requires 4 Metal Sheets, 13 Propane Fuel, and level 8 Metalworking
Like wooden walls, you can always upgrade the level 1 Metal Wall to level 2 using 1 Metal Sheet and 3 Propane Fuel.
You can find all the required items in specific places, such as garages, sheds, storage units, tool stores, metal shelves, logging factories, or even zombie corpses.
4. Build The Walls
If any building or upgrade options are shown in red, that means you lack materials or skill levels.
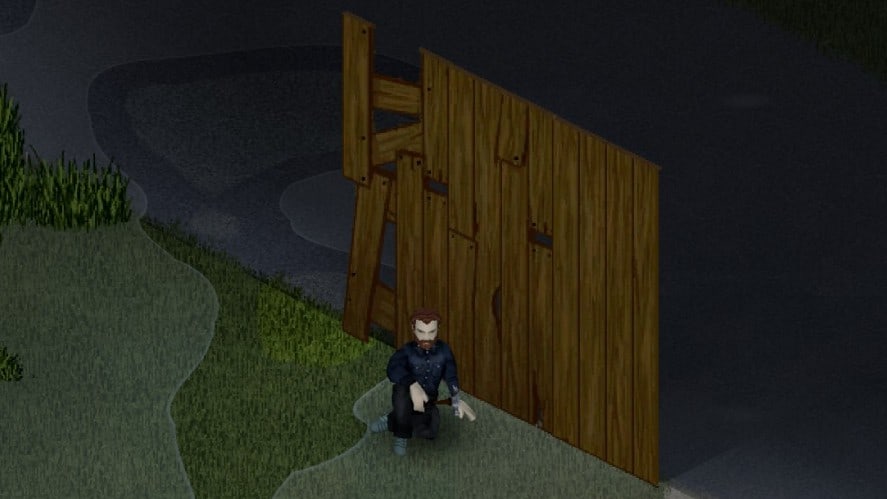
How To Build Wooden Walls in Project Zomboid
First, equip the Hammer in your primary hand.
Choose the ideal place to build. We recommend building it at the entrances or exit points for better protection.
Right-click on the ground and select “Carpentry”, then select “Wall”, then choose “Wooden Wall Frame”.
Keep in mind that zombies can enter through the wall frame while you’re building, so clean the area first for safety.
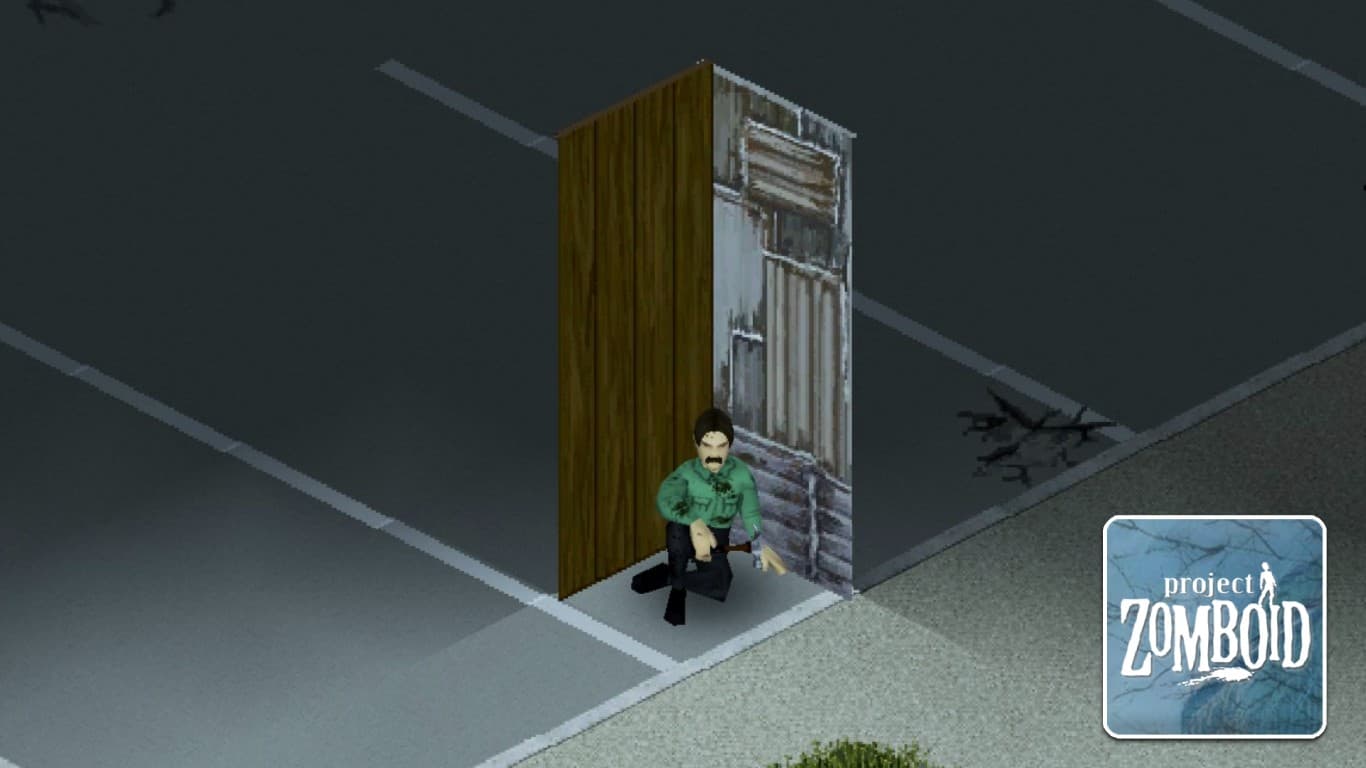
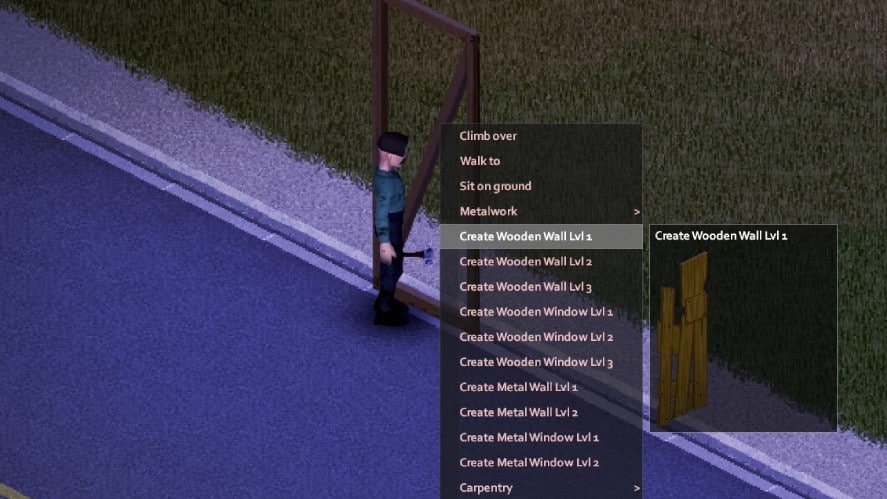
After covering the area with Wooden Wall Frames, right-click on each and select “Create Wooden Wall Lvl 1/2/3”.
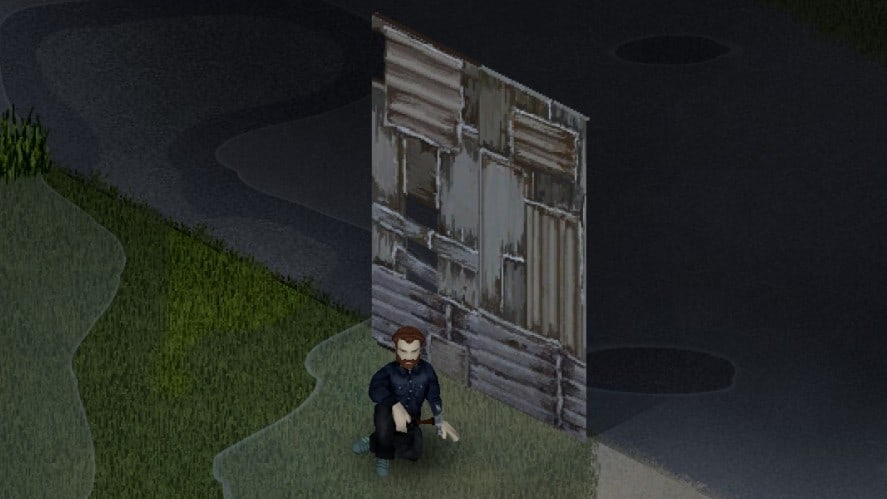
How To Build Metal Walls in Project Zomboid
To make the Metal Wall Frame, equip the Propane Torch.
Then right-click on the ground where you want to build, select “Metalwork“, then select “Walls/Fencing”, and choose “Metal Wall Frame”.
Right-click on the frames and select “Create Metal Wall Lvl 1/2”.
Although you can build Metal Walls on Metal Wall Frames, we’d suggest building them on Wooden Wall Frames to save resources and time.
Generally, the wooden walls’ health is significantly lower than the metal ones. While level 2 metal walls have 350 health points, level 3 wooden walls only have 250.
That’s how to build walls in Project Zomboid!
Have any suggestions for this guide? Let us know in the comment section below.