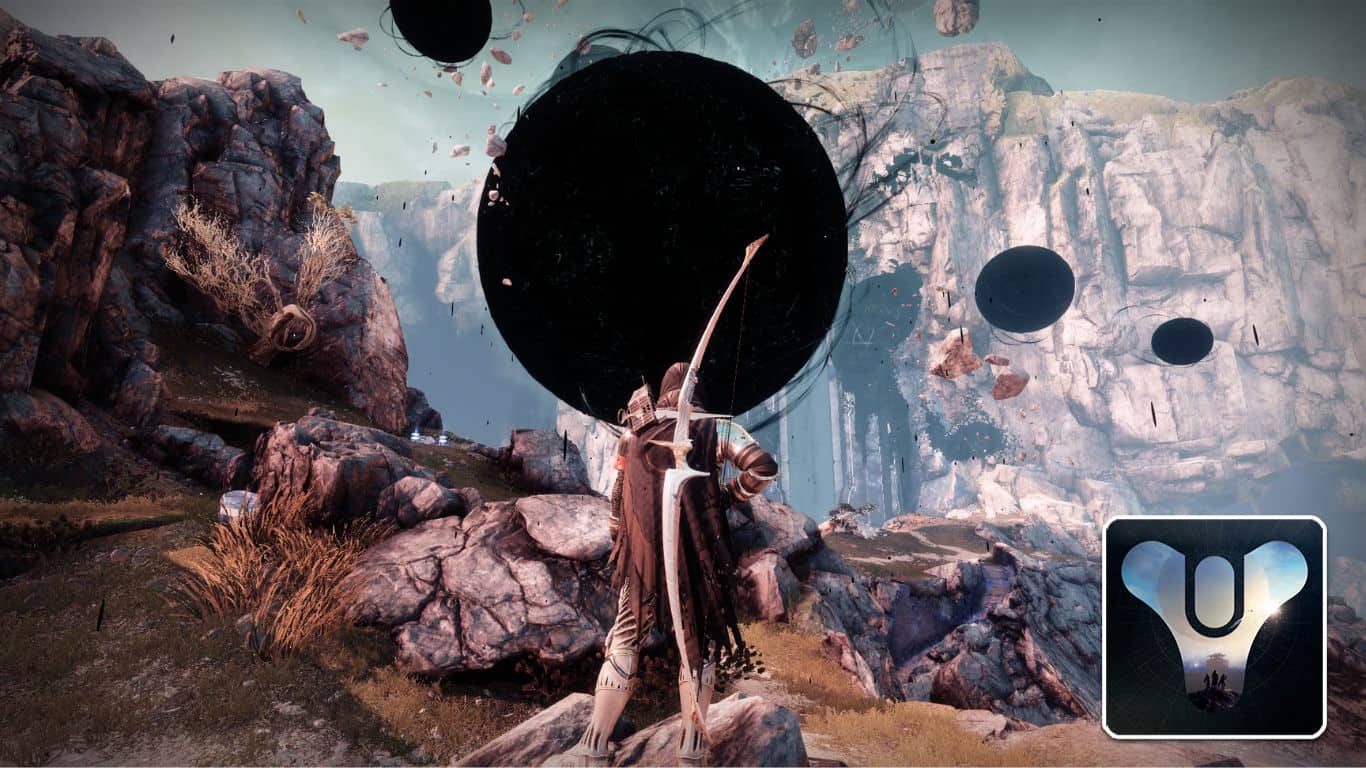
The Wish Ender Exotic Bow was one of the first weapons exotic bows introduced to the archetype in Destiny 2 back when Forsaken was released. The quest for acquiring Wish Ender has seen many changes over the years.
Today, the Exotic quest is easier to get than ever before. Follow along with this step-by-step guide to get yours.
Recommended Read: How to Craft Weapons in Destiny 2
To get the Wish Ender Exotic Bow in Destiny 2, you need to complete the Wish Ender Exotic quest, which you acquire by interacting with the statue of Sjur Eido after defeating the Ogre boss in the dungeon The Shattered Throne. The quest requires you to defeat three mini-bosses, all of which have to be summoned inside the same dungeon.
Find the complete details on how to summon each one of the three mini-bosses below.
Table of Contents
How to Get the Wish Ender Exotic Bow in Destiny 2
The Wish Ender Exotic Bow is a powerful weapon in Destiny 2 that requires some effort to obtain.
Below, you’ll find all the complete steps on how to obtain the weapon in the game.
Getting the Awoken Talisman
First, we will need to acquire the Exotic Quest for Wish Ender. This can be found in the Shattered Throne dungeon.
If you’ve completed this dungeon before, this quest will be simple. If this is your first time, be sure to grab a couple of friends to make it easier on yourself.
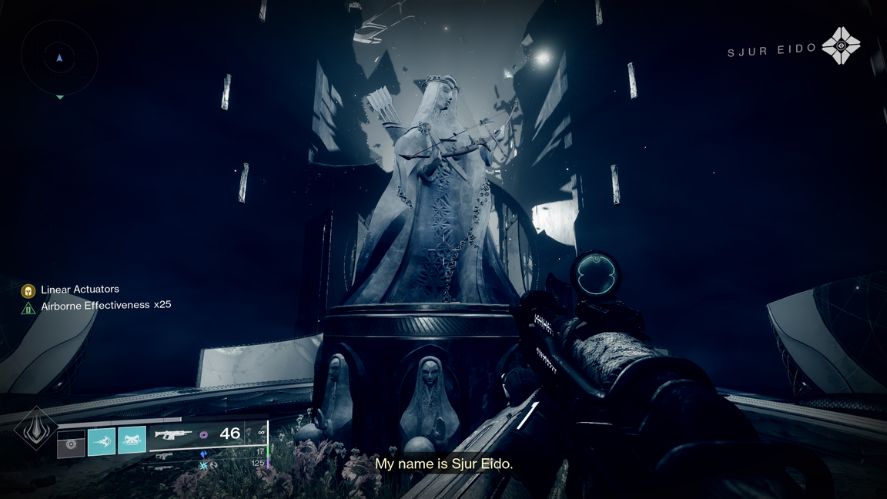
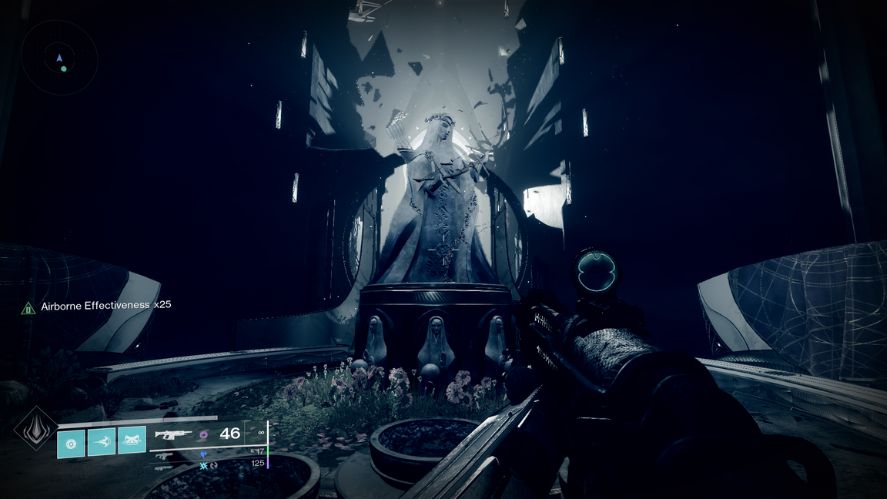
Traverse the dungeon as usual until you reach the Ogre boss. After defeating this boss, you will be met with a statue of Sjur Eido. Interact with this statue to acquire the Awoken Talisman. This is the first step in our quest.
The Awoken Talisman will require you to defeat three mini-bosses within the dungeon, Querim, Eriviks, and Xavoth. Summoning these bosses is the tricky part.
We will provide detailed instructions for every boss.
First Mini-Boss: Querim
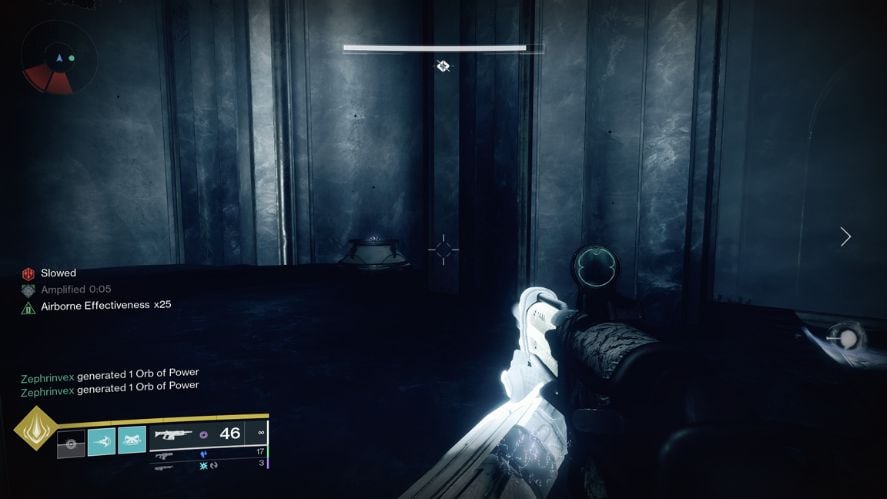
The first of the three mini-bosses can be found in the first encounter of the dungeon. Leave the Shattered Throne and reset your checkpoint before heading back in.
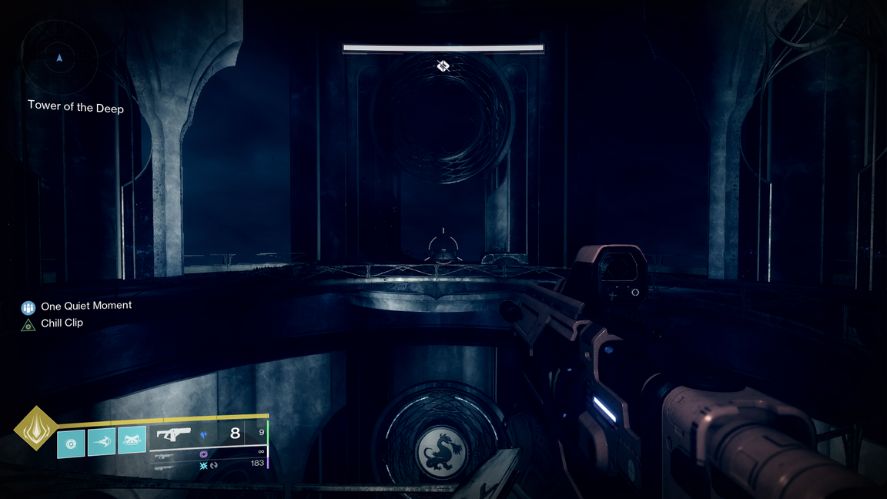
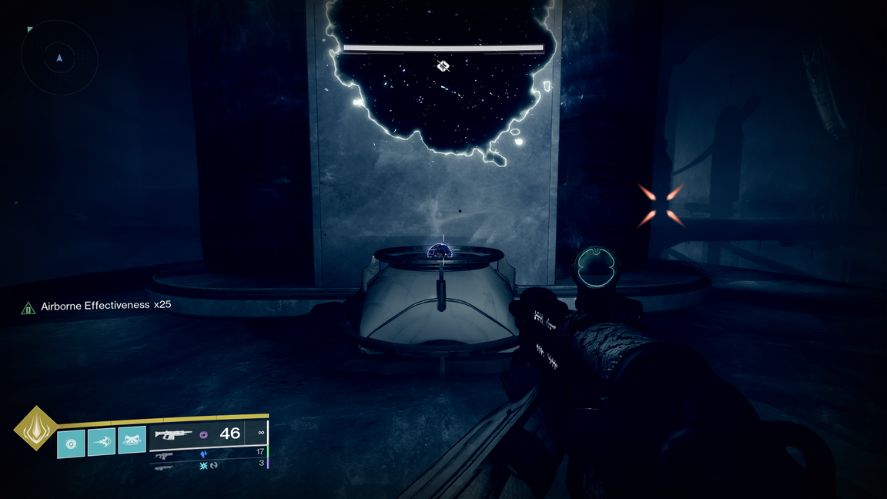
To summon Querim, you will need to dunk a Relic orb into an Awoken Statue. The orb can be found by climbing to the top of the Tower of the Deep, also known as the “Dragon Fire Right” symbol.
Head on over and pick up the relic.
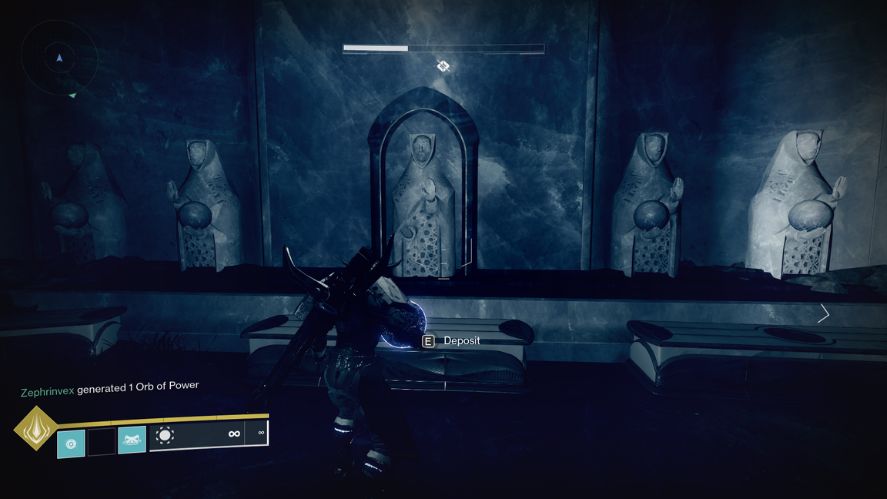
You will then want to turn around and head to the platform across from the giant Awoken Statue. Use the statue’s head to get across quickly.
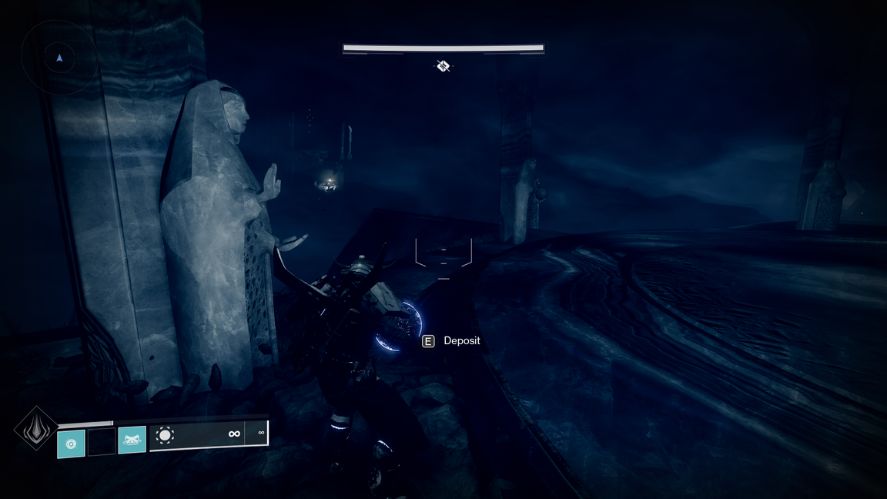
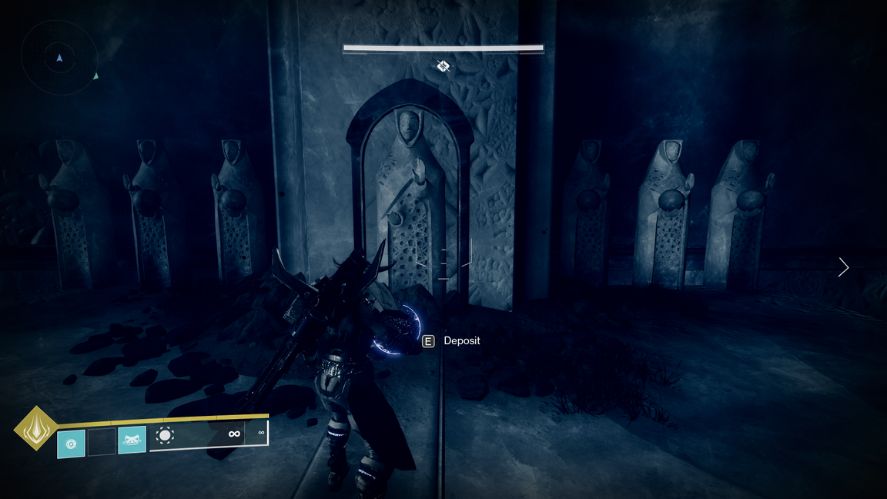
On this platform, you will find six smaller Awoken Satues. Head to the statue with no orb and deposit the Relic.
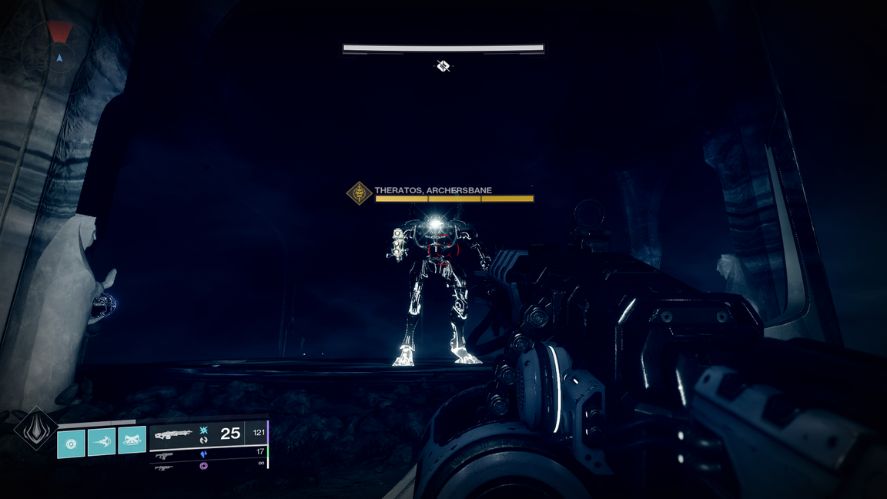
This will summon the first boss of the quest, Querim, along with an additional boss, Theratos. Killing them both will complete the first step of our quest.
Second Mini-Boss: Eriviks
The next boss is quite a ways away and will require you to deposit two more Relic orbs.
Complete the rest of the symbols section and continue through the dungeon’s Descent section as usual until you reach the room with many crossbeams and ogre spawns.
The Relic orb can be found behind the pillar to the close-right of the entrance.
You will want to clear out as many ogres as possible before attempting to transport the orb.
Continue to the far side of the room, opposite the entrance.
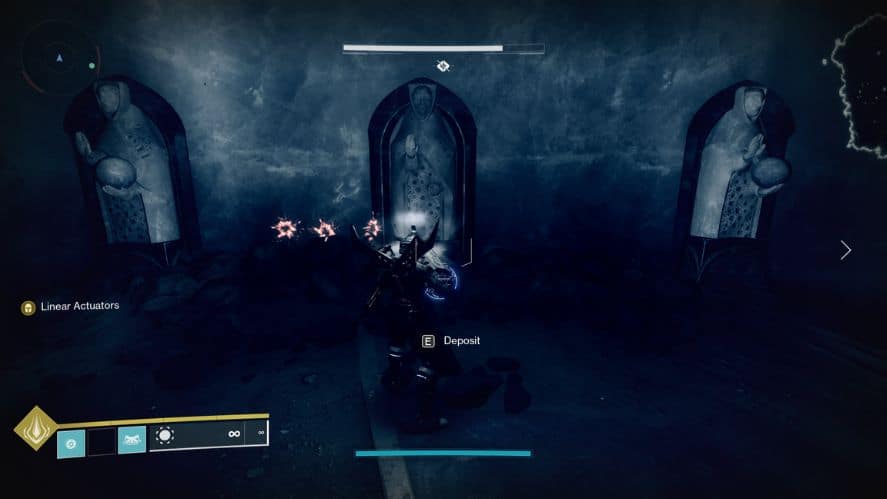
You will see two sets of Awoken Statues. The leftmost group is where you will deposit your orb.
The next orb can be found immediately after the crossbeam section as you enter the Thrallway. Turn right as you enter the door, and you will find the second orb in a small room.
Pick up the orb and run as fast as you can. You should be able to ignore the Thrall as you continue forward.
Immediately after the first drop-off, you will find a group of Awoken Statues to your right, where you will deposit the orb.
This will open the door to the second mini-boss of the quest, Eriviks. The door to the boss can be found at the bottom of the descent, through the first door, and straight to the second door.
Many minor enemies will begin to spawn in this room once you enter. Fend them off until Eriviks appears in the middle platform. Killing him will complete the second step of your quest.

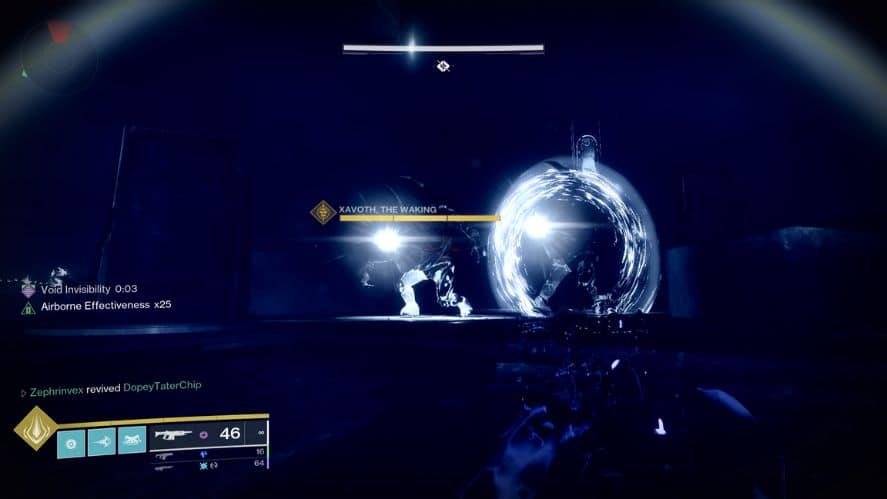
Third Mini-Boss: Xavoth
This will definitely be the hardest of the three bosses to defeat. Xavoth will need to be summoned during the Vorgeth, the Boundless Hunger boss fight.
You will continue through this boss fight as normal, slaying the Keeper of Petitions wizards and collecting their Petitioner’s Marks. Once you have collected four Marks, you will be given the Petitioner’s Burden buff.
Depositing the Petitioner’s Buff into the well will drop Vorgeth’s shield and begin the DPS phase.
This will also trigger an invisible Minotaur named Fleeing Shade to appear on the back side of the encounter. Killing this minotaur will spawn the final Relic orb.
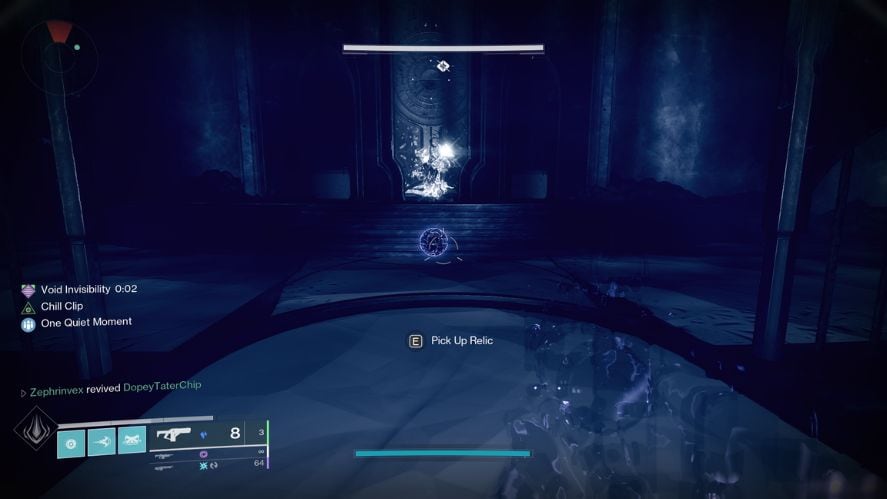
On the left wall, nearest the entrance where you dropped into the encounter, you will spot the final Awoken Statue.
Deposit your Relic orb here to summon Xavoth, the Waking.
Be sure to defeat him before continuing the encounter, as doing so will lock in this quest step regardless of whether or not you beat Vorgeth.
Obtaining Wish Ender
After defeating Vorgeth, you will once again be met with the Sjur Eido statue. Speak with it to complete the final step of the Awoken Talisman and acquire your hard-earned Wish Ender Exotic Bow.
The Wish Ender quest has been simplified in recent updates, making it much easier for newer players to grasp.
This guide should give you everything you need to get your very own Wish Ender.
Let me know how your Wish Ender quest goes in the comments. Be sure to leave any tips you might have for the quest as well!