Combat in Old School RuneScape has gone through many reiterations, changes, revamps, and updates that have caused the entire OSRS community to go into an uproar.
Regardless, combat is still one of the most interesting forms of combat in any game, with melee being the most common form in RuneScape. Melee combat is all about closing the gap between you and your target, wielding high-defense armor, and attacking with powerful swords.
Recommended Read: Old School RuneScape – Level 1-99 Runecrafting Guide
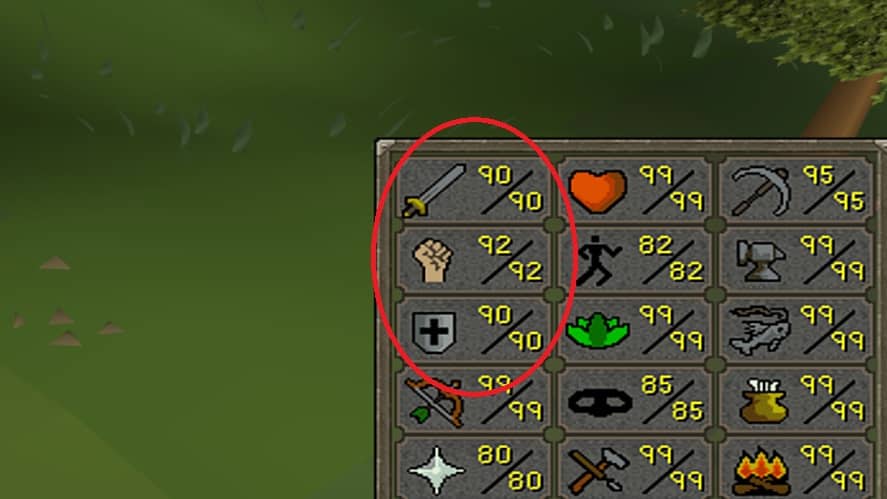
There are three skills in Old School RuneScape that are directly attributed to melee: Attack, Strength, and Defense. In this article, I am going to talk briefly about the three skills, then discuss how to train melee from levels 1-99 in Old School RuneScape!
The best way to reach level 99 Melee in OSRS is to start by killing Lumbridge’s low-level monsters, then move on to the various crabs found around Gielinor. Once you reach combat level 50, consider killing Experiments under Dr. Fenkenstrain’s castle for low-effort combat experience, and once you reach the midgame, you should move on to training Slayer or fighting in the Nightmare Zone for optimal experience rates.
Table of Contents
Level 1-99 Melee Training Guide for OSRS
Before we talk about combat training, let’s talk about the differences between the Attack, Strength, and Defense skills.
The Attack skill dictates how accurate you are in combat. In better terms, having a high Attack bonus means you will hit more often than not.
The Strength skill shows how strong you are (if that wasn’t obvious).
When training melee/ doing PvM combat, players typically lean towards having a higher strength bonus above all, as it means they will hit harder, allowing them to gain more combat experience in the process.
Leveling your Defense skill means you will be able to withstand hits to stay alive longer. This skill is important across all combat styles as it is not limited to melee.
When it comes to melee training, the general meta is to prioritize your Strength training, as hitting higher is typically more beneficial than hitting more often.
As for training your melee skills from levels 1-99, you can use a couple of methods for efficient experience rates.
Almost all of them are not exclusive to combat-level requirements, so I will discuss the different methods at recommended combat levels as well as gear upgrades you should strive for along the way.
Switching Between Attack Styles
If this is your first time experiencing combat in Old School RuneScape, get used to switching between the different attack styles and seeing how they affect your combat.
You can hover your cursor over them to get a better description.
- Accurate: Only gain Attack and Hitpoints experience. Gives an invisible +3 to Attack.
- Aggressive: Only gain Strength and Hitpoints experience. Gives an invisible +3 to Strength.
- Defensive: Only gain Defense and Hitpoints experience. Gives an invisible +3 to Defense.
- Controlled: Gains Attack, Strength, Defense, and Hitpoints experience. Gives an invisible +1 to all attack styles.
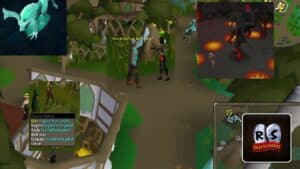
Combat Levels 3-20: Chickens, Cows, Goblins, Men & Women
When you’re just starting off on your combat journey, your best bet is to train on the low-level monsters in and around Lumbridge.
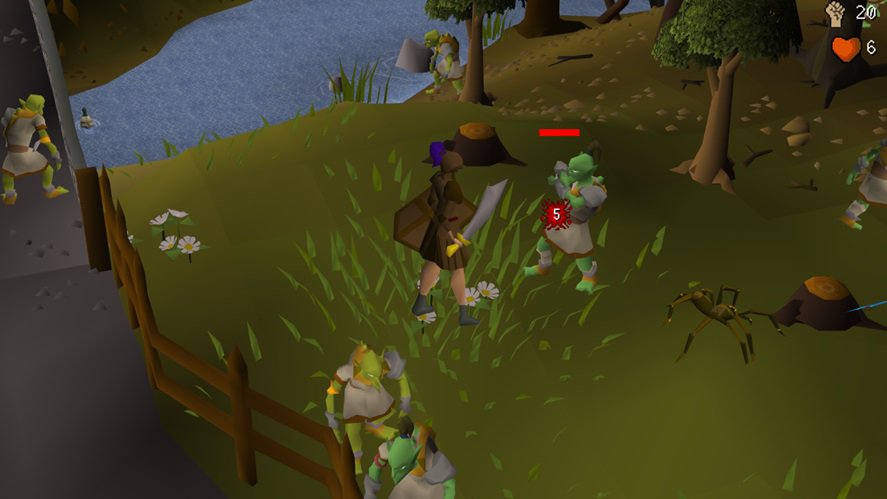
This includes the chickens and cows in their respective pens alongside the border to Al-Kharid, and the various Men and Women that are wandering throughout the town.
There are also many Goblins to kill, both by the gate to Al-Kharid and behind the General Store.
Gear Milestones
When you’re beginning your training, you will most likely still be using your training weapons until you earn enough gp to buy a set of Bronze, Iron, or Steel items.
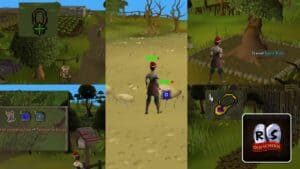
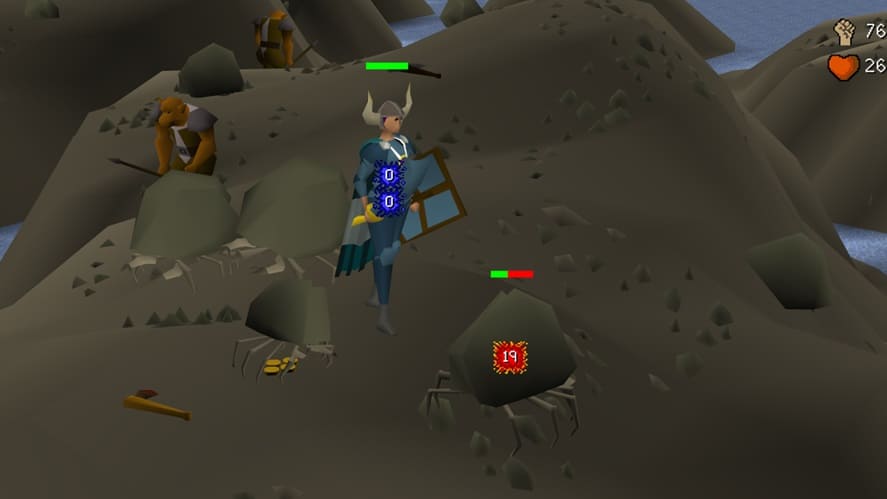
Combat Levels 20-70: Rock, Sand, Swamp & Ammonite Crabs
Similar to our article on training 1-99 Ranged, you should look into killing crabs when you reach combat level 20.
There are four different types that have both high HP and low Defense, making them a breeze to train on.
- Rock Crabs (Level-13) – Located on the Northside of Rellekka. They have no requirements to access.
- Sand Crabs (Level-15) – Located on the Southside of Hosidius and Crabclaw Isle. They have no requirements to access.
- Swamp Crabs (Level-55) – Located South of Port Phasmatys. Must have completed the “Priest in Peril” quest to access Morytania.
- Ammonite Crabs (Level-25) – Located on the Northside of Fossil Island. Must have completed the “Bone Voyage” quest to access Fossil Island.
In all of these locations, they are considered multi-combat zones, so multiple of them can become aggressive on you at one time.
Considering this, there are a few spots where you can stand on a single tile and have them continuously attack you, providing a decent AFK experience.
Gear Milestones
Between these levels, there are a couple of gear upgrades you should also consider. Upgrading to Rune armour is a great plus, so you should complete the “Dragon Slayer” quest to be able to equip a Rune Platebody.
Towards the latter half of this bracket, it is worth getting the Void Knight Armour set from Pest Control, as it is used against even the toughest bosses.
Note that you will need at least 42 in all combat stats, including 22 Prayer, to be able to equip this armour.
After completing the “Monkey Madness” quest and having at least 60 Attack, you will be able to wield the Dragon Scimitar, a strong one-handed weapon that is reliable in both price and combat training.
Combat Levels 50-70: Experiments
Once you complete the “Creature of Fenkenstrain” quest, you will be able to return to the same cave during the quest to kill the Experiments.
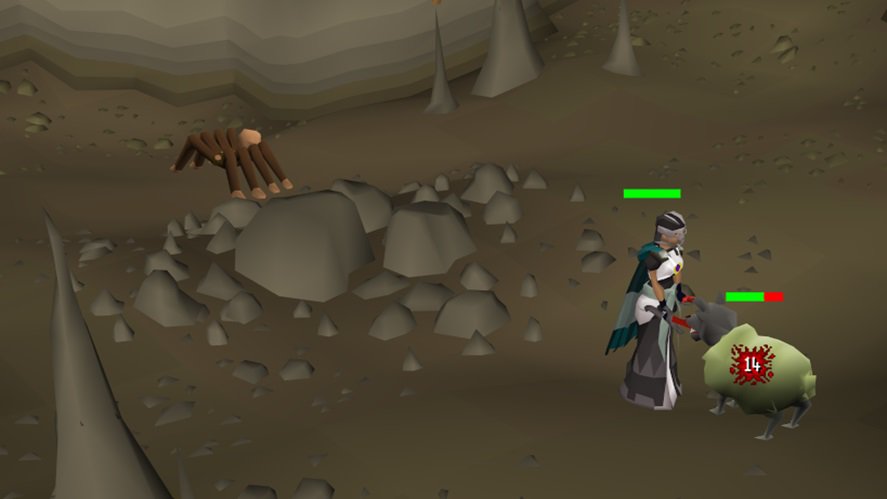
Similar to the crabs of the previous methods, these experiments (specifically the Level-25s) have a high amount of hitpoints (100hp each) and low Defense.
This makes them a prime monster to train on, as they are incredibly low effort while providing decent experience rates.
Although they do not drop anything, you can expect to get between 70k-80k combat experience per hour killing Experiments.
Gear Milestones
Towards the end of this bracket, there are some gear upgrades that are pretty much mandatory beyond this point.
Once you reach 70 Defense, you will be able to equip Barrows armour.
Although it can be pricey depending on which set you want, it is absolutely worth getting, especially when you get to high-level Slayer/PvM content.
Four of the six Barrows sets are Melee-based, each providing their own set effects:
- Verac’s Set: Has a chance of hitting through Protection Prayers.
- Dharok’s Set: The lower hitpoints you have, the stronger you hit.
- Guthan’s Set: Has a chance of siphoning a target’s health to heal your own.
- Torag’s Set: Has a chance of lowering a target’s run energy.
One of the most notable gear upgrades to get in the game is the Fire Cape, the second best-in-slot melee cape in the entire game. It can be obtained by completing the Fight Caves in TzHaar City.
Combat Levels 70+: Slayer
Now that we’ve officially reached the mid-game bracket, let’s talk about the Slayer skill.
Slayer is about getting a task from a Slayer Master to kill a certain number of a specific monster, killing said monster, rinse and repeat.
On some occasions when you need to kill a slayer monster, you will need a certain item to do so, i.e. always having a Witchwood Icon equipped while fighting Cave Horrors.
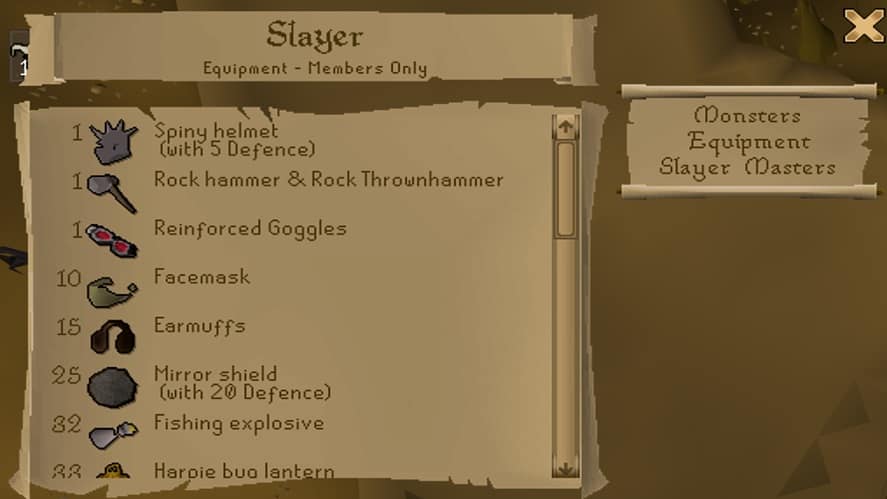
Sometimes, there will be restrictions and/or alternatives to the task you get.
Such as when you talk to Konar for a Slayer Task, she will not only give you the number of a specified creature, but also the location that you are required to kill them in, in exchange for Konar keys as a bonus reward.
Needless to say, Slayer and Combat go hand-in-hand. In fact it is common for players to simultaneously train Slayer and their Combat stats at the same time.
Although you can start Slayer at any time, it is recommended that you train your stats to a moderate level before attempting to do so.
If you want a complete introduction to the Slayer skill and how it works, the “A Porcine of Interest” quest is the Old School RuneScape’s form of a “Slayer Tutorial” for players.
As for experience rates, that will vary around what creatures you get assigned to kill. On average, you can expect around 80k-100k combat experience per hour, especially when you reach the higher-level monsters.
Gear Milestones
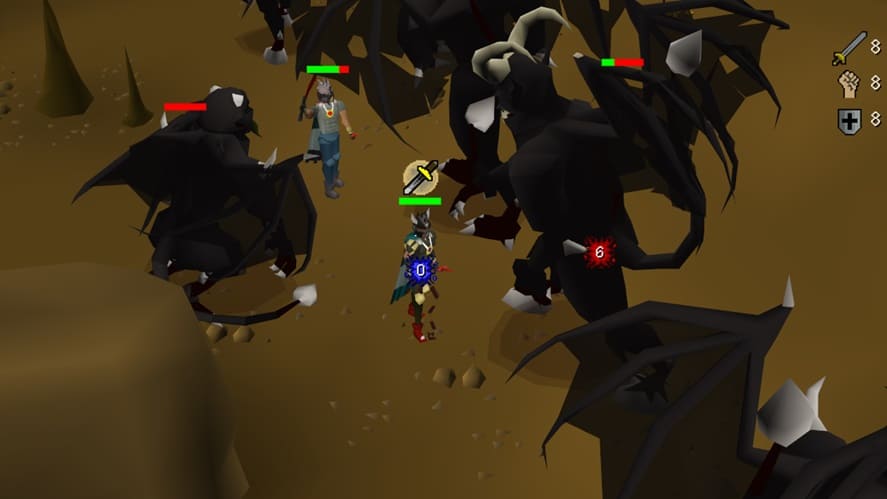
As you dive deep into the Slayer grind, you will also encounter a wide array of monsters, such as the GWD bosses, the Kalphites, the Cave Krakens, Dragons, and many more.
With this, it’s time to start equipping some tier 70+ armor and weapons.
Since you are training Slayer, you should get a Slayer Helm as soon as possible, as it will combine that effects of most slayer items while giving you additional accuracy and damage bonuses when on a slayer task.
At 65 Defense, you will be able to wear the Bandos Chestplate and Bandos Tassets.
Although currently going for 30m and 20m respectively, this armour provides some of the highest Strength bonuses in the entire game, only second to Torva armour.
If spending 30m for a chest-slot item is a bit much, you can take part in the Barbarian Assault minigame and earn yourself a Fighter’s Torso.
This torso has slightly fewer Strength and Defense bonuses than the Bandos Chestplate, but it is a 0gp alternative that still has high stats.
After completion of the “Fremennik Isles” quest and 55 Defense, you will be able to equip a Helm of Neitiznot.
For a long time, this was the best-in-slot helmet Strength bonus until the Neitiznot Faceguard came along, which can be worn after completing the “Fremennik Exiles” quest and 70 Defense.
Speaking of helmets, the Serpentine Helm is an excellent upgrade choice for players who want tanky Defense bonuses while being able to avoid being poisoned and inflicting venom on any target.
By this point, you should be able to enter the Warrior’s Guild (need your Attack and Strength level to equal at least 130 or have 99 in either skill).
Here, you can gather Warrior Tokens and kill the Cyclopes inside to get the different defenders, ending with the Rune Defender on the top floor or going for a Dragon Defender when killing the Cyclopes in the basement.
As for weapons, an Abyssal Whip is a great choice for casual PvM training.
Defenders are an off-hand alternative to a shield, leaning towards offensive stats instead of defensive. They are great when going for a purely DPS setup, and you aren’t too worried about defensive stats.
Once you complete the “Recipe for Disaster” quest, you will be able to purchase and wear Barrows Gloves, which are the second best-in-slot gloves for melee in the entire game, providing a +12 bonus to all stats (except for Magic which is a +6).
We actually have a whole guide to getting Barrows Gloves which you should read into.
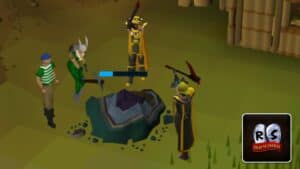
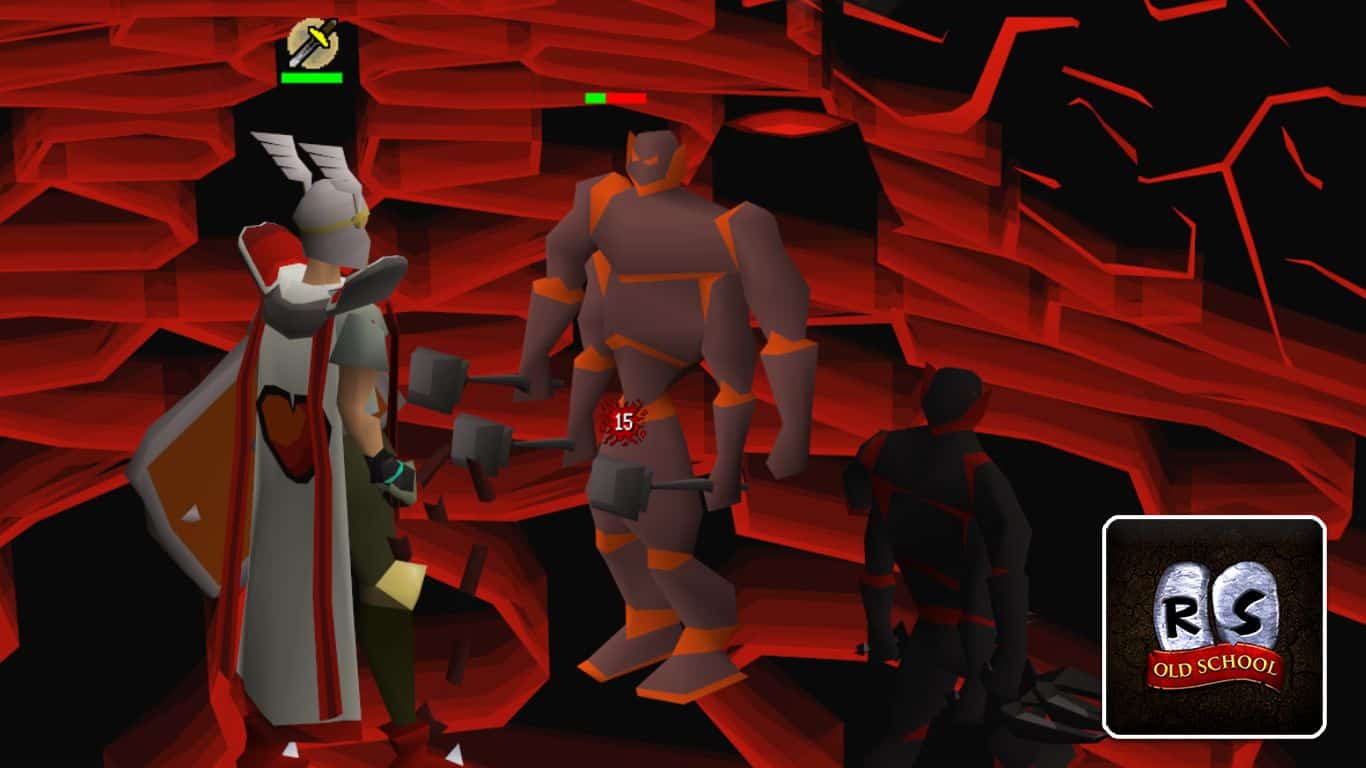
Combat Levels 80+: Using Dharok’s Gear at The Nightmare Zone
The Nightmare Zone is a minigame posted just outside the north gate of Yanille that has players fight through monsters from previous quests they have completed.
There are certain options and toggles that you can set when going into the Nightmare Zone, such as setting the difficulty and which monsters you will need to fight.
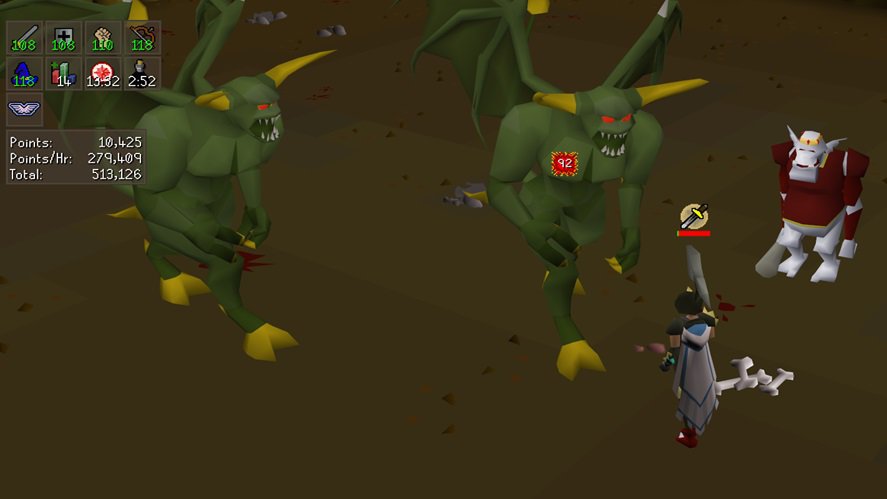
That being said, you can create a Nightmare Zone setup where you only need to use melee combat and pray Protection from Melee to stay in a dream for hours at a time, taking in hundreds of thousands of Combat experience.
In this case, you should set a “Customizable Hard Rumble” and activate the following monsters (only available if you completed their associated quest):
- Black Knight Titan (Holy Grail)
- Black Demon (Grand Tree)
- Bouncer (Fight Arena)
- Count Draynor (Vampyre Slayer)
- Ice Troll King (The Fremennik Isles)
- Jungle Demon (Monkey Madness I)
- The Kendal (Mountain Daughter)
- Khazard Warlord (Tree Gnome Village)
- King Roald (What Lies Below)
- Me (Lunar Diplomacy)
- Sand Snake (The Depths of Despair)
- Skeleton Hellhound (In Search of the Myreque)
- Trapped Soul (The Ascent of Arceuus)
- Tree Spirit (Lost City)
Since we are going for high combat experience rates instead of points, we will be focusing purely on DPS.
Equip a full set of Dharok’s gear, and have an inventory with your best DPS setup, full of Prayer Potions, a Special Attack weapon (Granite Maul, Dragon Claws, etc), something to reduce your hitpoints to 1 (to increase the Dharok’s set effect) and some Overloads from NMZ barrels (only if you have some points already).
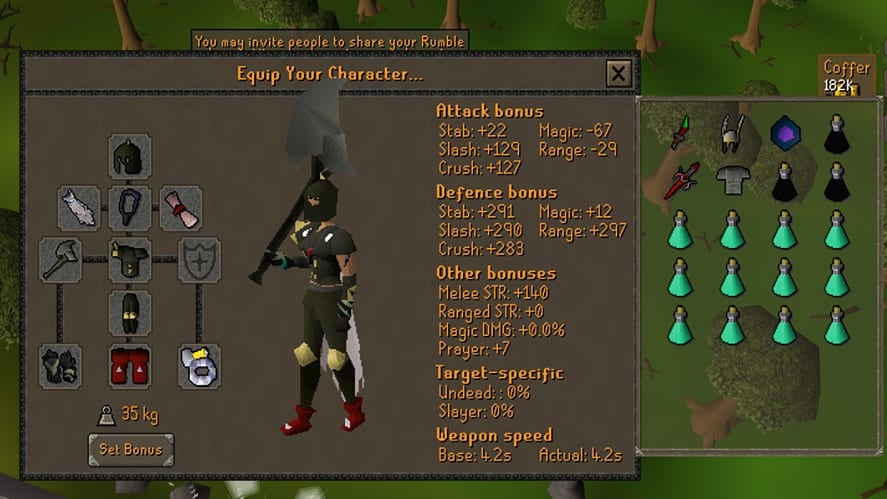
Once you enter, drink a dose of Overload to boost your combat stats, keep Protection from Melee active at all times, and start attacking.
The only power-up you should look out for is the Power Surge (It glows White), which will keep regenerating your special attack bar.
When you activate it, equip your DPS gear and special attack weapon and continue to kill the monsters with your special attack.
Depending on gear and how efficient you are, you can get nearly 160k melee experience per hour.
Of course, it has a bit of a high upfront cost, and there are technically no other rewards to doing this method, as all points you earn will be spent getting more Overload and Absorption potions.
Gear Milestones
Now that we have reached “endgame combat”, let’s talk about the best armour and melee weapons you can get in Old School RuneScape.
For melee, very little tops Torva armour, which can either be dropped by the Nex boss or bought from the Grand Exchange in its entirety for around 1b (yes, 1 billion gp).
It requires 80 Defense to wear and provides the highest Attack and Strength bonuses in all of Old School RuneScape, at least for the Slash and Stab attack types.
For crush bonus, the Inquisitor’s armour provides the best crush offensive bonus and great defensive stats.
It requires only 30 Defense and 70 Strength to wear and can be obtained as a drop from the Nightmare boss or bought from the Grand Exchange for around 150m in total.
If you are going purely defensive and want the toughest armour, look no further than the Justiciar armor, which has the best-in-slot defense bonuses in OSRS.
Requiring 75 defense to wear, it is dropped from the Theatre of Blood or bought from the Grand Exchange for around 50m.
As for weapons, beyond 80 combat, there are plenty of powerful weapons to strive for. Specifically for the Attack style, Gharazi Rapier or Osmumten’s Fang are excellent choices.
For Strength training, you can buy a Zamorakian Spear, Blade of Saeldor, or Soulreaper Axe to output incredible damage. But for overall training (if you don’t mind the cost), a Scythe of Vitur is an excellent choice that balances between the attack styles.
Lastly, top off your gear setups with an Amulet of Fury (Best all-around stats) or Amulet of Torture (Best DPS stats) and a Berseker’s Ring/Ultor Ring and Dragon/Primordial Boots.
And once you feel comfortable enough with combat mechanics, you can go for an Infernal Cape, which is the best-in-slot melee cape in the entire game.
Obtaining the Attack/Strength/Defense Skill Capes
Once you reached 99 in either Attack, Strength or Defense, congratulations! You can purchase each cape for 99k from three different people, each having its own effects.
- Attack Skillcape can be bought from Ajjat at the Warrior’s Guild and allows you to keep fighting Cyclopes without Warrior Tokens.
- Strength Skillcape can be bought from Sloane at the Warrior’s Guild and provides unlimited teleports to the Warrior’s Guild.
- Defense Skillcape can be bought from the Melee Combat Tutor in Lumbridge and acts as a Ring of Life when worn (can be toggled).
This has been an in-depth guide to training your melee stats from 1-99 in Old School RuneScape!
Do you have any input or suggestions for this article? Let us know in the comment section below.