The crafting mechanics in Project Zomboid provide a variety of ways of building a structure, which means a lot in protecting yourself. Among them, the roof is indispensable, and not all players know how to construct it in the game.
This guide will show you how to build a roof in Project Zomboid.
Recommended Read: How to Level Up Electrical in Project Zomboid
In Project Zomboid, you can build a roof by building Frames and Stairs (Carpentry level 6 required) to reach the floor above and then right-clicking on the ground and selecting “Metalworking” =>” Metal Roof” or “Carpentry” => “Wooden Floor” and filling the entire floor.
The roof is basically a collection of Wooden Floors or Metal Roofs. That said, the floor of the second floor is the roof of the first floor.
Table of Contents
How to Build Roof in Project Zomboid
There are many benefits when it comes to building a roof in Project Zomboid.
With a roof over your head, you no longer suffer from hypothermia moodles (the fluctuating temperature may cause this moodle, you can check what it means to you by wearing a digital watch).
Besides, a roof is also required if you want to build a structure for plumbing, and so on.
Basically, there’s no “roof’ structure in Project Zomboid. Instead, a bunch of Wooden Floors or Metal Roofs can act as a roof if you align them with Wooden/Metal Frames.
So, before jumping into the tutorial, let’s gather tools and materials first!
Prepare Tools and Materials to Build a Roof
There are 2 types of roofs in Project Zomboid, so pick your roof type and check out the required tools and materials below.
For Wooden Roof:
- Hammer: A roof is a product of Carpentry skill, and a Hammer is required for any wooden construction.
- Nails: Each Wooden Floor costs only 1 Nail, but getting a few boxes of nails is recommended to build a whole roof. Moreover, Stairs and Wooden Frames also need nails to be constructed.
- Plank: Each Wooden Floor requires 1 Plank to build.
For Metal Roof:
- Propane Torch and Welder Mask: This combination is required if you want to build a Metal Roof.
- Small Metal Sheet and Scrap Metal: You need 1 Small Metal Sheet and 1 Scrap Metal for 1 Metal Roof.
Moreover, you need at least level 6 Carpentry to build Stairs to reach the top level to build a roof.
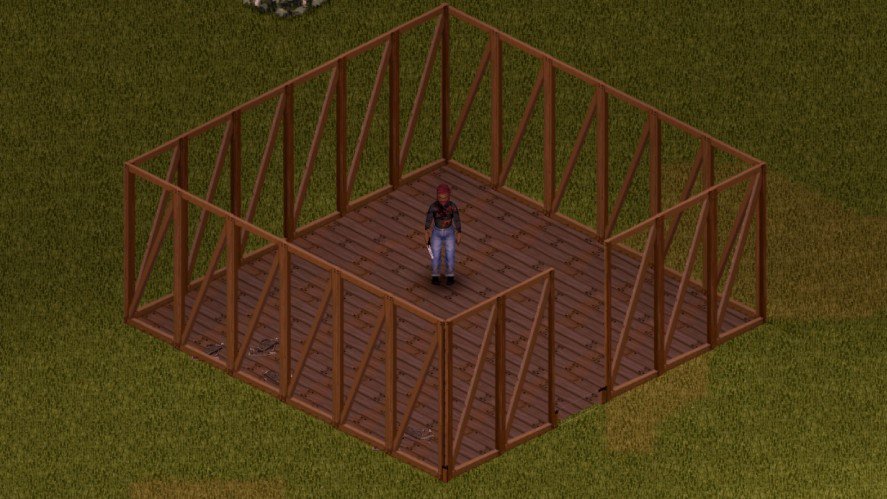
1. Build Wall Frames
Wall Frames are used to cover your base and create a border between the inside and outside. Without Wall Frames, it’s impossible to build the roof.
First, you should determine your storage room’s size, depending on your demands and resources. Typically, the ideal storage room should be 6×6 or 8×8.
After deciding on the dimension, you can replace the grass tiles with Wooden Floors and make it a foundation by right-clicking and selecting “Carpentry” => “Wooden Floor”.
Next, right-click and choose “Carpentry” once again, then select “Wall” => “Wooden Wall Frame” and wrap it around the foundation.
A Wooden Wall Frame requires level 2 Carpentry skills, 2 Nails, and 2 Planks. Alternatively, you can make it with Metal Wall Frames, but it’s unnecessary because of the expensive requirements.
Not to mention that you need a Door Frame to build a door. In that case, select “Carpentry” => “Door” => “Door Frame”.
Although you’re now eligible to place the roof, fortifying the room with Wooden or Metal Walls is advisable, depending on your generous ingredients.
To add Wooden Walls, right-click the Wooden Wall Frame and select “Create Wooden/Metal Wall Level 1/2/3”.
2. Build Stairs
You can’t build the roof if you stand on the ground. Therefore, you need Stairs to reach the top.
It’s pretty straightforward to build Stairs, as you have to find a spot nearby your storage room that is accessible, then right-click on the ground and select “Carpentry” => “Stairs”.
Making Stairs costs 15 Nails, 15 Planks, and level 6 Carpentry skills.
3. Build The Roof
Once completed, use the Stairs to go to the top floor, then select “Carpentry” => “Wooden Floor” to fill the whole area to create a roof.
Alternatively, the same method can be applied when building Metal Roofs. After standing on top of the base, right-click and select “Metalworking” => “Metal Roof”.
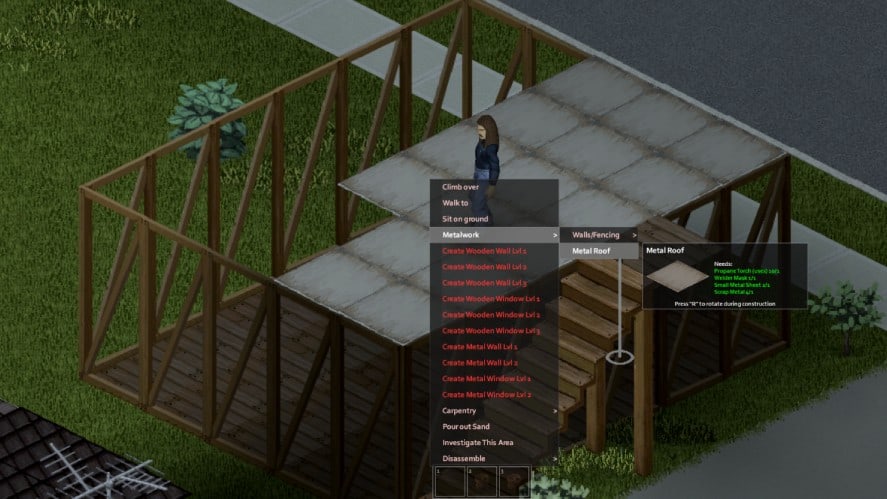
Keep in mind that this option is only available after you read Metalwork Magazine Vol.1, which can be found mostly in post offices.
Based on our experience, the Metal Roof costs more, but its potential benefits remain unknown compared to a Wooden Floor. It may offer an aesthetic look, but the Metal Roof is quite unnecessary considering the expensive materials.
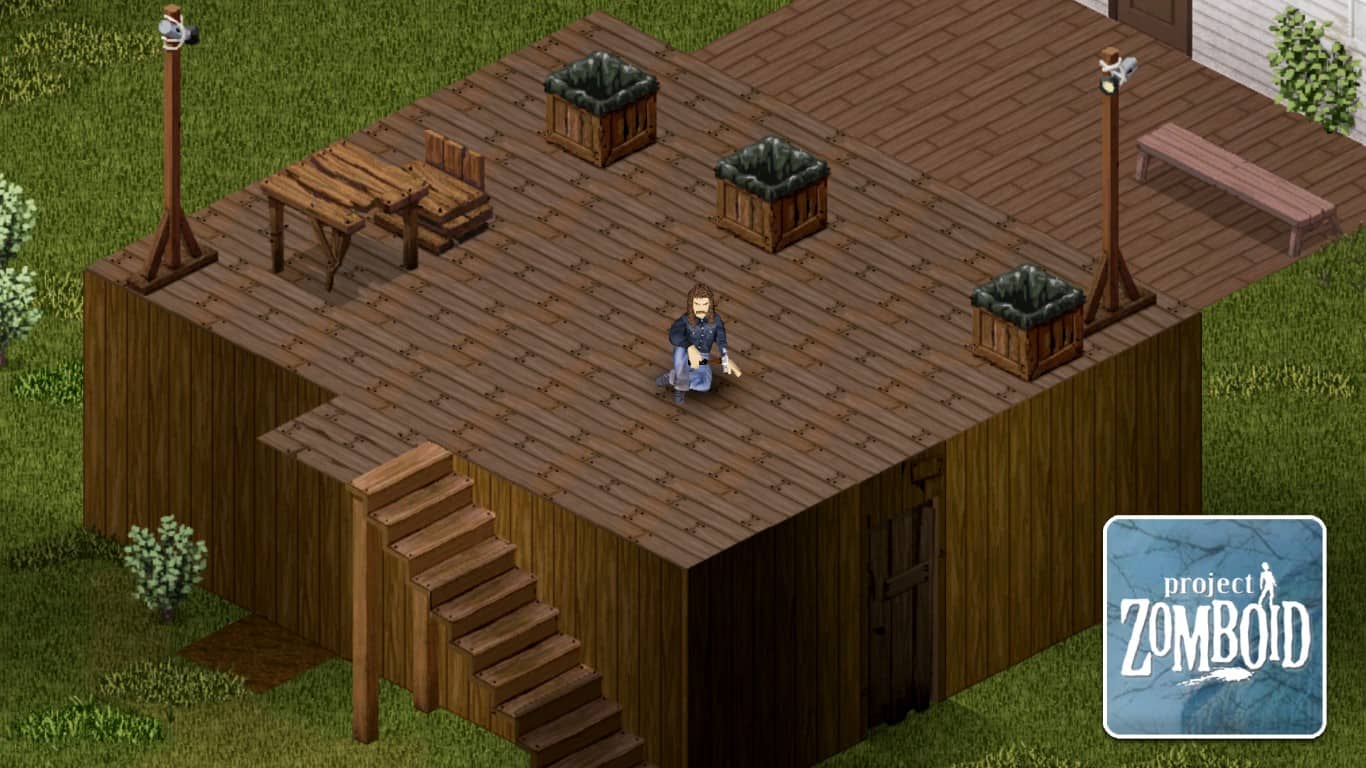
In addition, provided that you already have a one-story house and want a better perspective when you’re on it, you can fill the top of your house with Wooden Floors.
First, find a spot at the side of the house to place Stairs, then reach the top.

You’ll see many black tiles and the transition of the roof when you move on to the next tile. Although you’ll not fall while standing on these black tiles, they limit your vision.
In such case, you can fill your roof with Wooden Floors so that you can observe the whole area.
That’s how to build a roof in Project Zomboid.
Have any suggestions for this guide? Let us know in the comment section below.