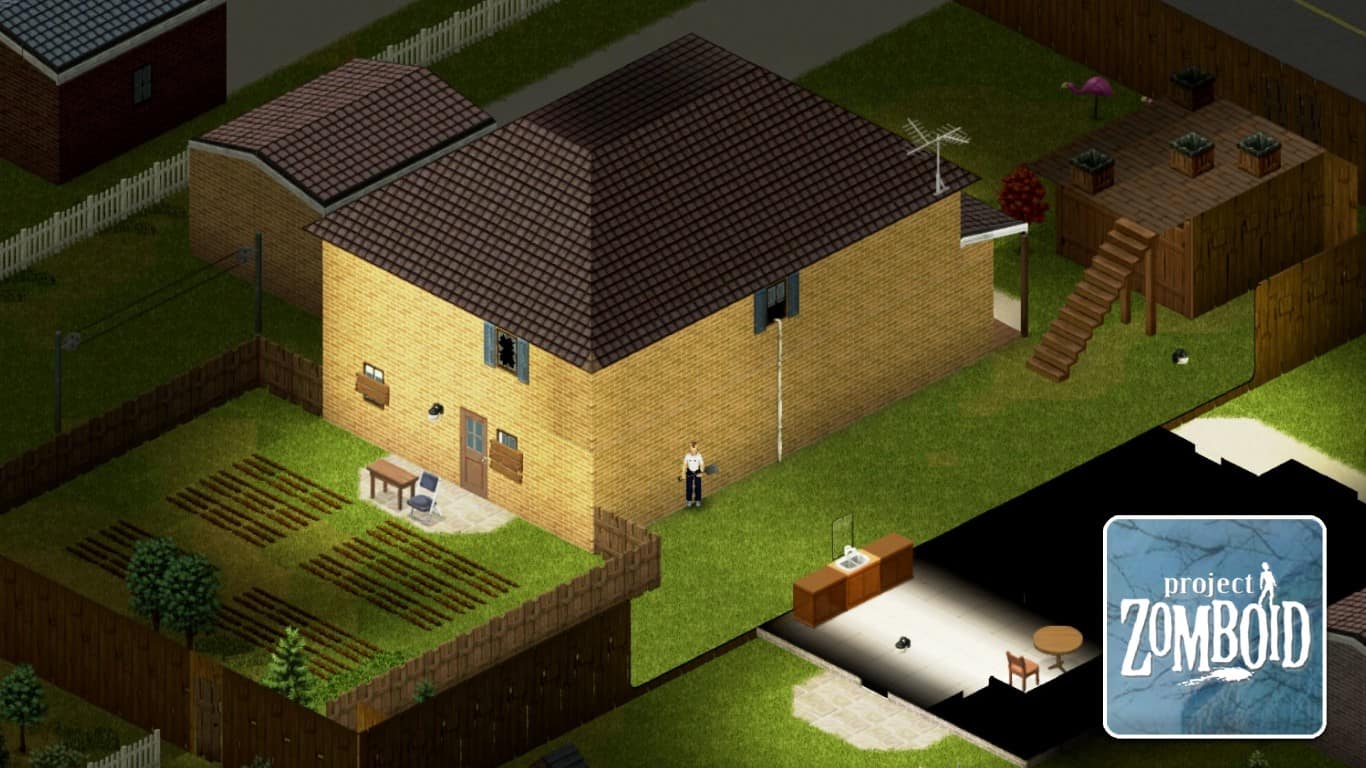
Having a secure base in Project Zomboid increases your chance of survival significantly.
Since there are unlimited ways to build a base, you may find it a bit overwhelming regardless of your experience in this post-apocalyptic world. This guide will show you how to build a great base in Project Zomboid step-by-step.
Recommended Read: Project Zomboid – Plumbing Guide
To build a base in Project Zomboid, you need to get the necessary tools, find a safe place, build walls and fences, expand the outdoor area if possible, get a generator and refrigerator, build an extra floor and storage room, make a bedroom for high-quality sleep, board up windows, do plumbing, and create an exit way.
Table of Contents
How to Build a Base in Project Zomboid
First of all, our guide is based on our experience and ideas. As there are endless possibilities when it comes to building a base in Project Zomboid, take our guide as a reference.
Things to Know Before Building a Base
Building a base in Project Zomboid involves a combination of fortification and storage. You can decorate your base according to your liking, but it seems unnecessary in a world of death.
You should check out this post to read a comprehensive guide for beginners.
Some skills, such as Carpentry, Metalworking, Mechanics, and Electrical, play an important role in making your base, as some designs are unavailable unless you reach the required skill levels.
Finally, be cautious all the time, as constructing can draw the attention of zombies. Once you’re ready, follow the steps below to build your dream base in Project Zomboid!
1. Getting the Necessary Tools
There are several tools in Project Zomboid, and they’re all useful. However, you just need to collect a few of them for building bases:
- Hammer, Nails, and Planks: used to build wooden walls and fences.
- Saw: disassemble objects or convert logs into planks.
- Pipe wrench: used to pick up sinks, toilets, or bathtubs for plumbing purposes.
- Shovel: used to set up the farm.
- Crowbar: used to pick up dumpsters, a high-capacity bin that can help you organize your place efficiently.
- Sledgehammer: A useful tool for breaking garage doors or walls and stairs.
Depending on your desired build, you may need more or less of them, but these tools can meet almost all demands.
2. Finding a Place to Build a Base
The second step in constructing a base is to look for a suitable location.
There are millions of choices in Project Zomboid across 4 starting locations, and you should also check out this post to choose the best places to build a base according to your liking.
3. Building Walls & Fences
If you choose the base with built-in fences, you can temporarily skip this step and use resources for the others. Otherwise, you must fortify your base with walls and fences.
By surrounding your base with sturdy walls and fences, you create a protective shield against the undead.
These structures keep the horde out, allowing you to rest, craft, and strategize without a constant threat.
We recommend bordering your base with walls while only using fences to cover your farm.

The best wall to build in the early game is the Log Wall. Wooden Wall Level 2 is another option if you can survive for longer in the apocalypse world.
The best fence to use in your base is the Wooden Fence, thanks to its low requirements and accessibility.
Metal walls/fences undoubtedly provide better protection, but remember that you need to preserve your resources for many upcoming purposes.
Instead, try to add extra layers to your wooden walls by placing dumpsters, composters, or any electrical devices you barely use near them.
4. Expanding The Exterior
You can skip this step if you choose larger bases like gas stations, bookstores, or warehouses from the beginning.
But if you go for abandoned houses in the deep forest or by the river, where space is limited or blocked by trees, you’ll need to clear out those areas first.
A spacious area allows you to build essential facilities such as a farm, parking areas, storage rooms, and rain collector barrels.
While it might be a bit more work to manage and control, having that extra space outside can really pay off by making your survival setup stronger for tough situations.
5. Building Extra Floors
Choosing a two-story base is wise, but note that you can also build a second floor yourself.
A second floor offers several benefits, such as more space for storing supplies and establishing essential facilities.
It also allows for more efficient use of limited ground space, allowing you to expand without spreading out horizontally.

To build extra floors, right-click on the ground and select “Carpentry” => “Stairs”, then climb the stair to reach the top roof. Next, right-click again and select “Carpentry” => “Wooden Floor” to fill the area.
You can then build walls and roofs to secure your new floor. However, most players prefer to build windows and tie ropes to them for quick base access or escape.
6. Finding a Generator
A generator in Project Zomboid works like a mini power plant, providing power for all electrical equipment in your base.
A generator is extremely helpful during power outages, which are frequently set by default. Keep in mind that you’ll need to refuel the generator regularly to keep it running.
Check out this post to learn where to find a generator and this post to learn how to use it.
7. Building Storage Rooms
An additional storage room in Project Zomboid offers several benefits.
These extra spaces allow you to organize and store your supplies neatly. With more storage rooms, you’ll have easy access to everything you need.
You can utilize the space inside the garage and make it a storage room, as the garage door is more durable against zombie damage. Otherwise, choose an area outside and construct a storage room yourself.
First, right-click on the ground and select “Carpentry” => “Wooden Floor” and place it based on how large you want to build. Our recommendation is 5×5 or 6×6.

Next, select Carpentry once again and choose “Wall” => “Wooden Wall Frame”, then border the wall frame around the wooden floors.
Remember to leave 1 empty tile for a door frame by choosing Carpentry and selecting “Door” => “Door Frame” and building a wooden door after that.
You can create the roof of the storage room using wooden floors, just like when you add more floors to your main base.
The interior is up to you to put things you want. Bar corners, bookcases, and shelves, just to name a few. Not to mention that wooden crates are one of the best storage options in Project Zomboid.
8. Enhancing the Bedroom
Bad quality sleep leads to several negative moodles, which impact you significantly in every aspect. Thus, crafting a bed that offers high-quality sleep is essential.
A large oak bed is ideal for high sleeping quality, but unfortunately, you can’t craft it. In that case, you should find it in other houses and bring it back to your base if possible.
Otherwise, you can craft an average-quality bed by right-clicking on the floor and selecting “Carpentry” => “Furniture” => “Bed”.
9. Barricading Windows
Boarding up windows is a smart move to keep you safe from zombies. This way, you can focus on important things like getting supplies and planning without constantly worrying about zombies breaking in.
Based on our experience, only windows on the first floor need to be barricaded. Windows on the second floor should be left normal so you can break and exist in urgent situations.
Check out this post to learn how to board up and barricade windows.
10. Finding a Refrigerator
Food will become rotten over time, and a refrigerator helps slow down that process, thereby extending the lifespan of your food and ensuring its nutritional value for a longer period of time.
When searching for supplies downtown, you should check out grocery stores or restaurants to pick up large, high-capacity refrigerators without any requirements.
11. Doing Plumbing
Clean water is unlimited in sinks, toilets, or bathtubs in normal condition. However, their lack is a big problem when the power shuts off.
Assume that you can get tainted water from lakes or rivers and then put it over a heat source to purify it. But what if you live in Rosewood or Muldraugh, where no natural water resources are nearby?
Fortunately, getting clean water is possible thanks to plumbing. By utilizing the roof of the outdoor storage rooms, you can craft a rain collector barrel on it and then connect it with a sink on a vertical tile below, which you can pick up using the pipe wrench.
12. Making Way to The Exit
In the current version of Project Zomboid, zombies can’t climb the rope. As a result, you can create a safe exit to use in an emergency.
First, you can use the sledgehammer to break all the pre-built stairs that lead to the second floor so that zombies can’t climb them.

Next, make sure you have a hammer, sheet ropes, and nails in your inventory, then right-click on the window and select “Open Windows”, and select “Add Escape Rope <Material Type>”.
Keep in mind that while the zombies can’t climb the rope, they can destroy it, so it’s advisable to create more than just one escape rope.
That’s how to build a great base in Project Zomboid!
Have any suggestions for this guide? Let us know in the comment section below.


